How to make an RC Boat with Brushed DC Motor? : Introduction
This tutorial will walk you through the process of building a Remote Control Boat that is propelled by a DC Motor.
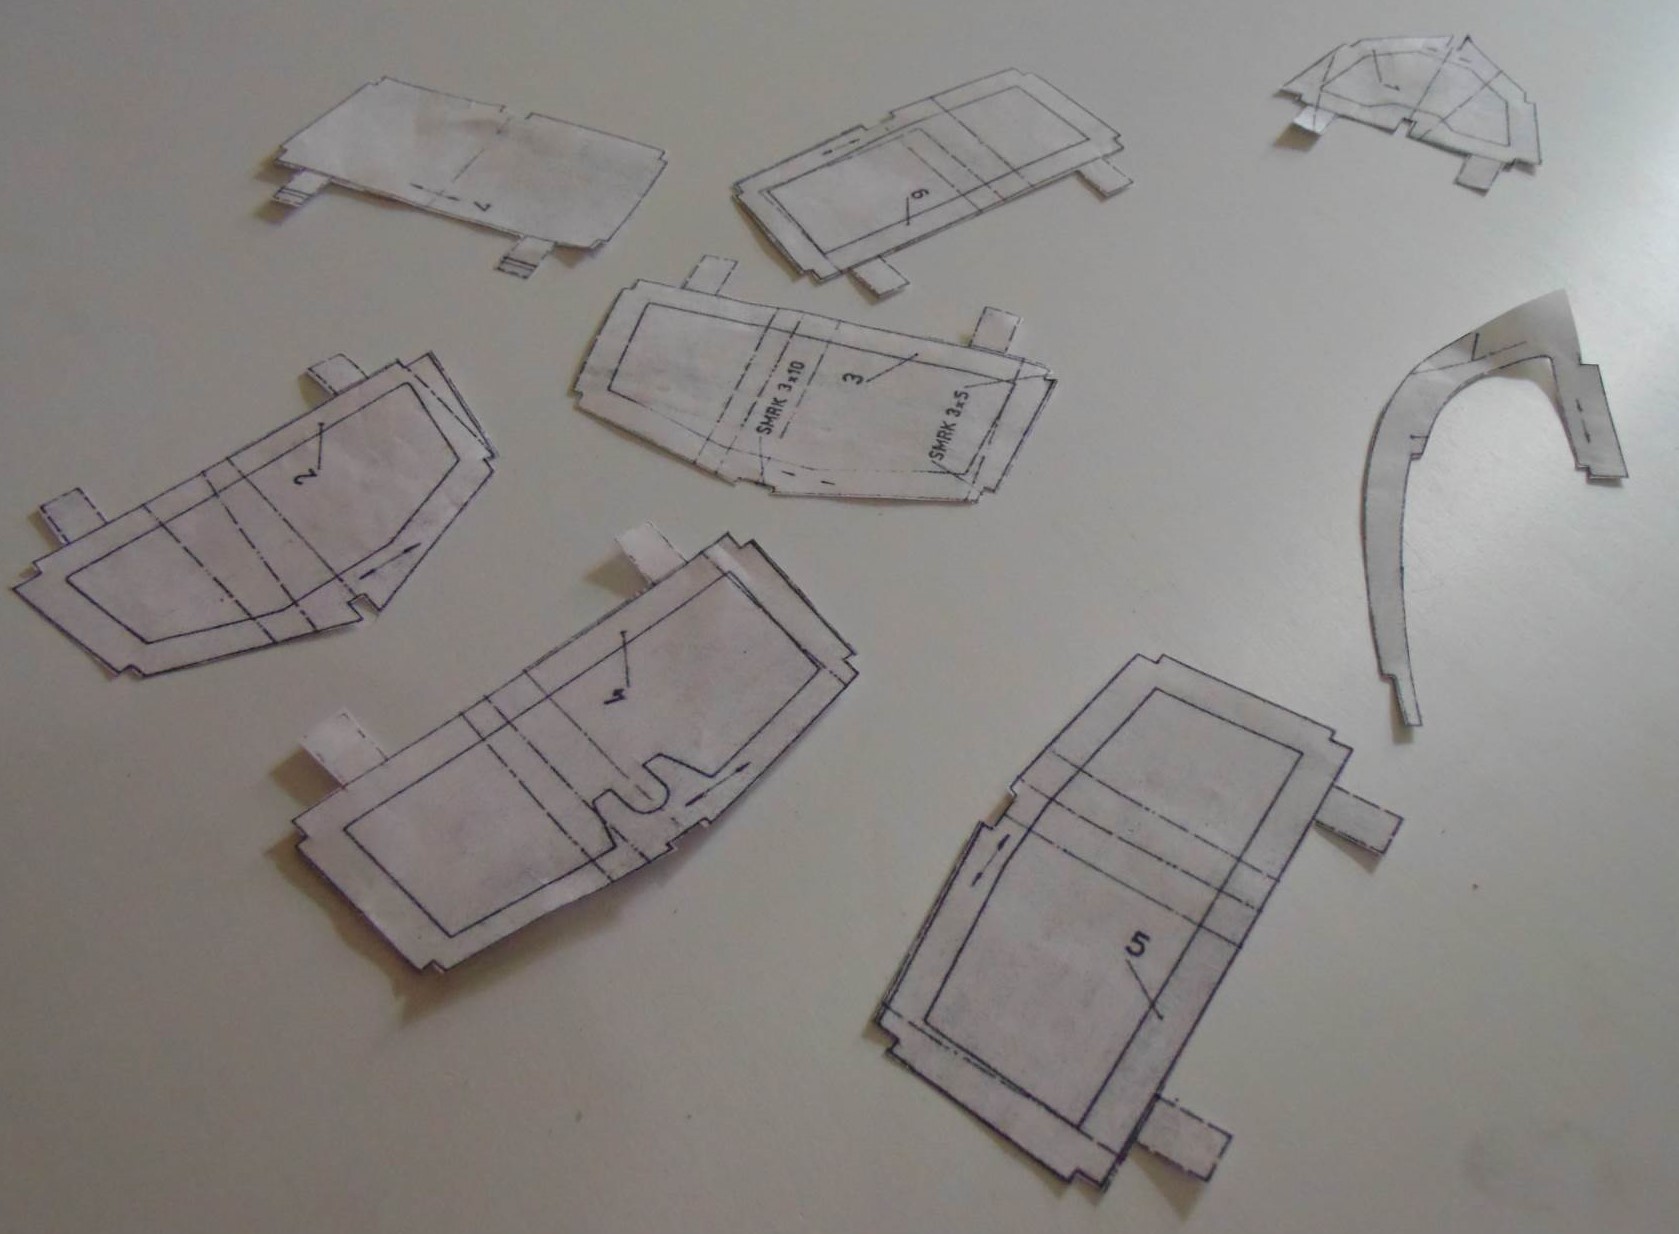
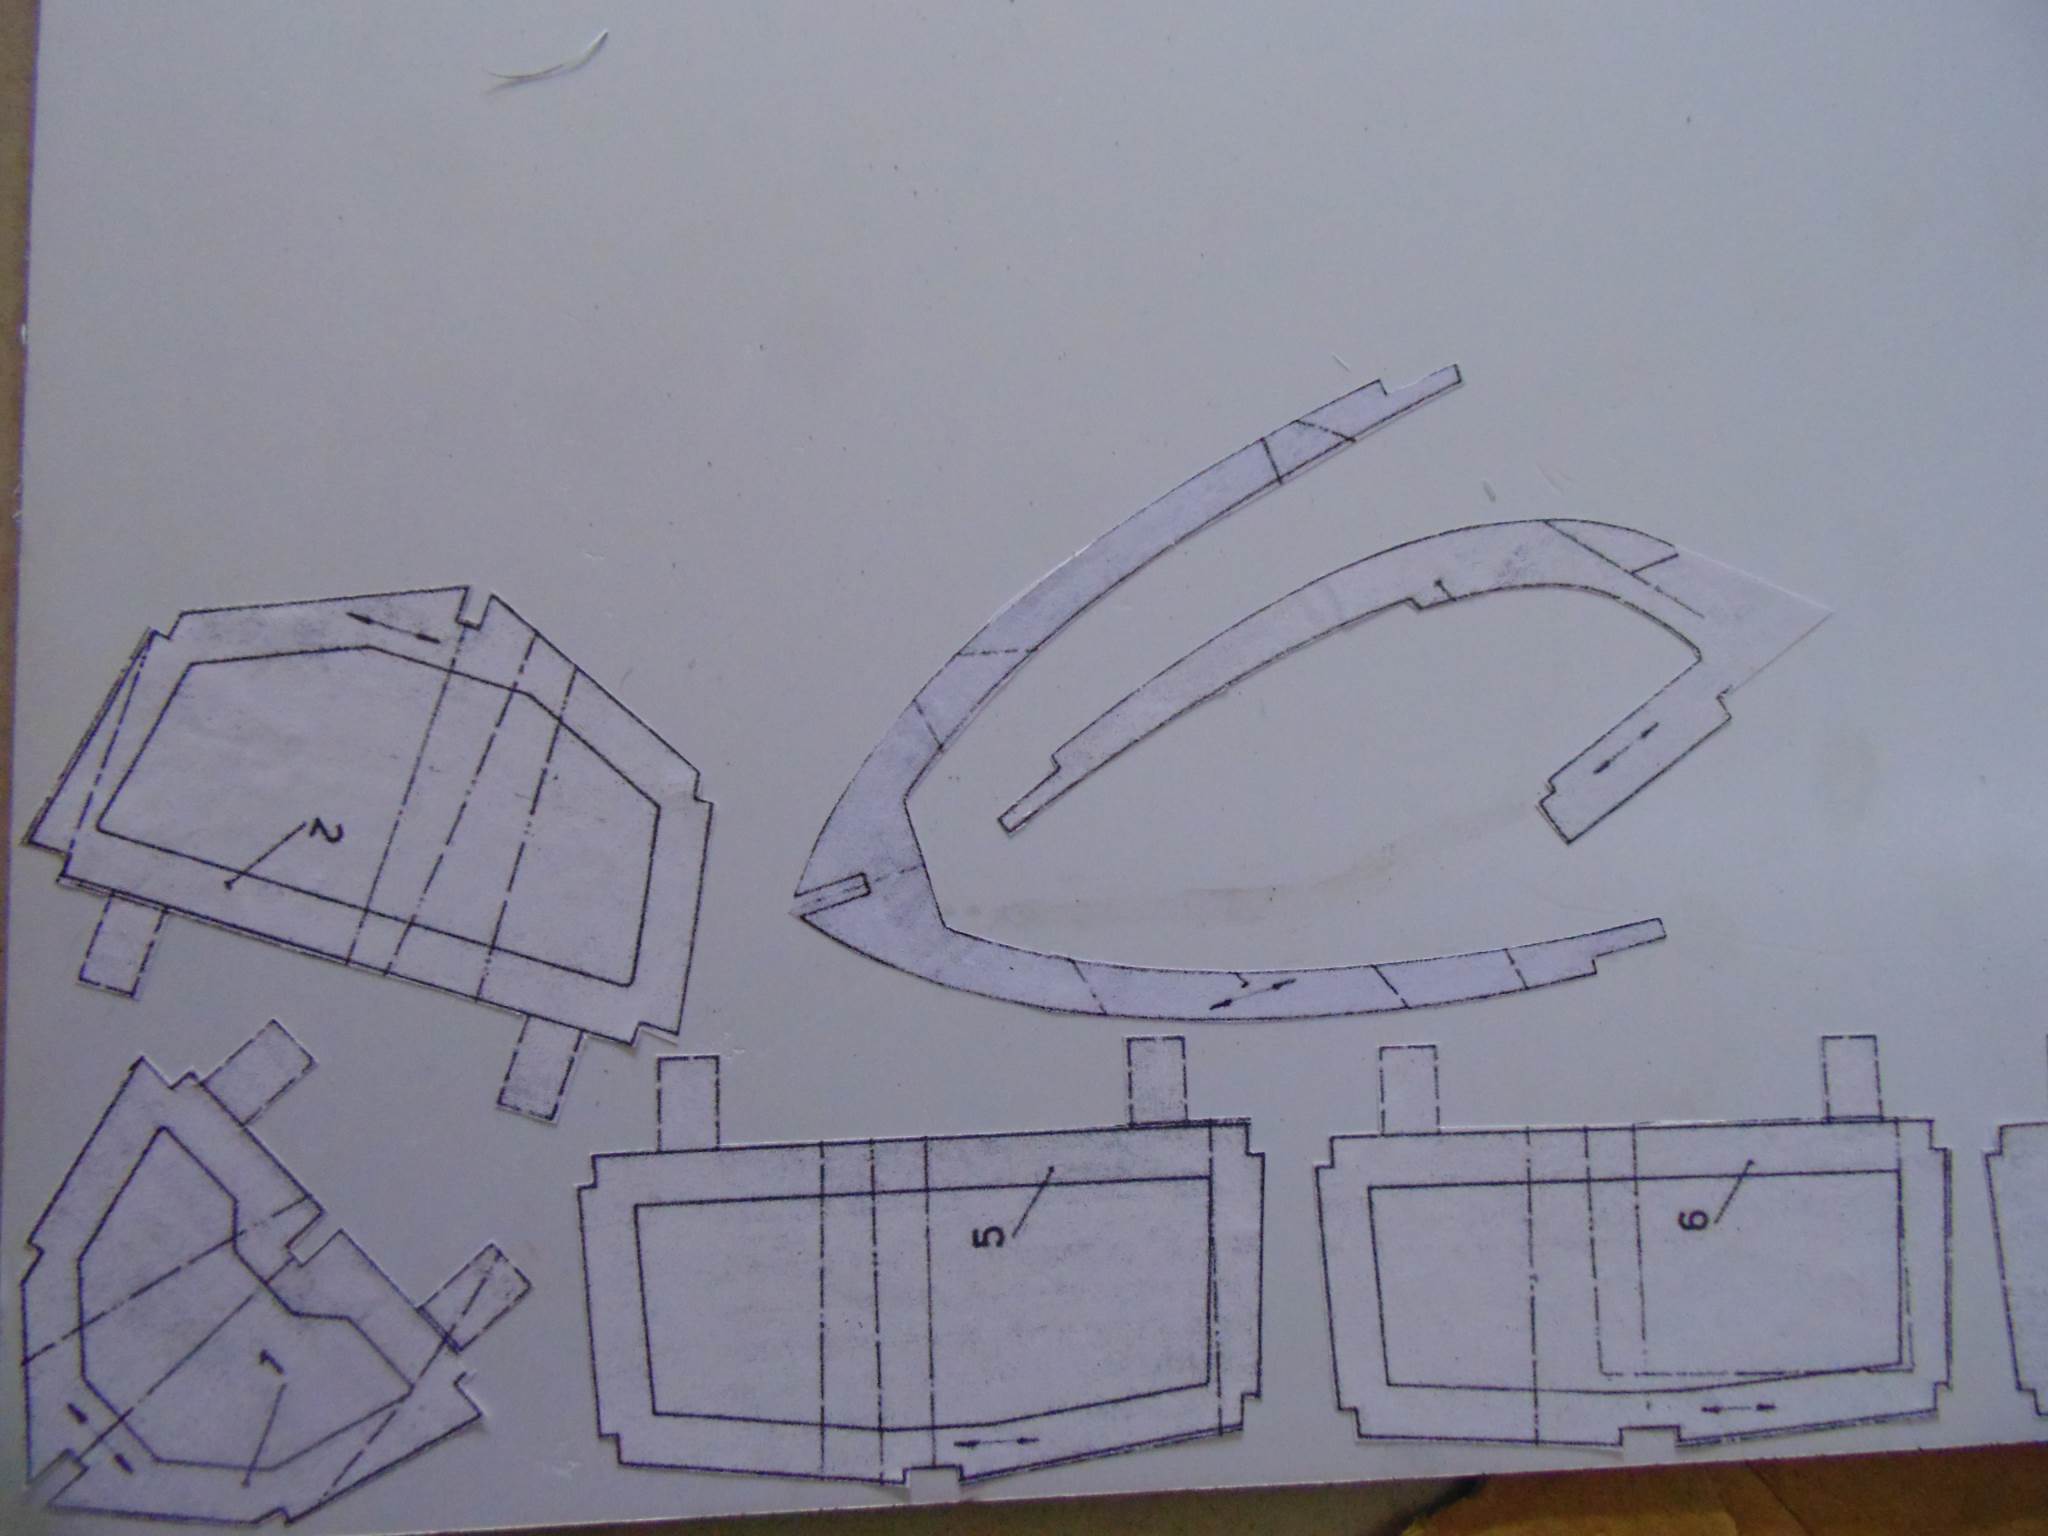
I used PVC Sheet / Sun Board to make the body of the Boat. You can use any material you like. There is a PDF plan that you can download hereinafter. You have to print it on paper and use the cutouts as templates to cut the PVC Sheet.
To power the system I used three Li-Ion 18650 cells in series. The Motor was rated for 12V so three Li-Ion Cells in series provided 11.1V to 12.6V which was optimum for the application. I had salvaged those cells from an old Laptop Battery, though they were not suitable to power a Laptop still they had enough life left to power a RC Boat.
The DC Motor was also salvaged from an old Dremel like hand rotary tool. The Motor was rated 12V 10000RPM but with the propeller in water, the RPM used to reduce quite a bit.
I used a FlySky 2.4Ghz 6 Channel Remote with a Receiver to control three things the speed of the Boat which in turn was a factor of propeller’s RPM, the direction of rotation of propeller and the angle of the rudder. The rudder of the boat was actuated using a small 9G Servo Motor. The ESC was not having an in build reverse feature in it so I had to use a DPDT switch to swap the Motor’s terminals which in turn was actuated using a 9G Servo Motor. You can Build your own brushed ESC from Brushless ESC Check the Tutorial below.
Steps to make Remote Control Boat
Time needed: 5 hours
Steps to Make a DC Motor Powered Remote Control Boat
- Download the Plan
Download the plan from above and print it according to the size you want to build it. If you don’t have a big paper size printer then you can split the PDF file into small parts and print it. Later you can join them to shape it to necessary size.
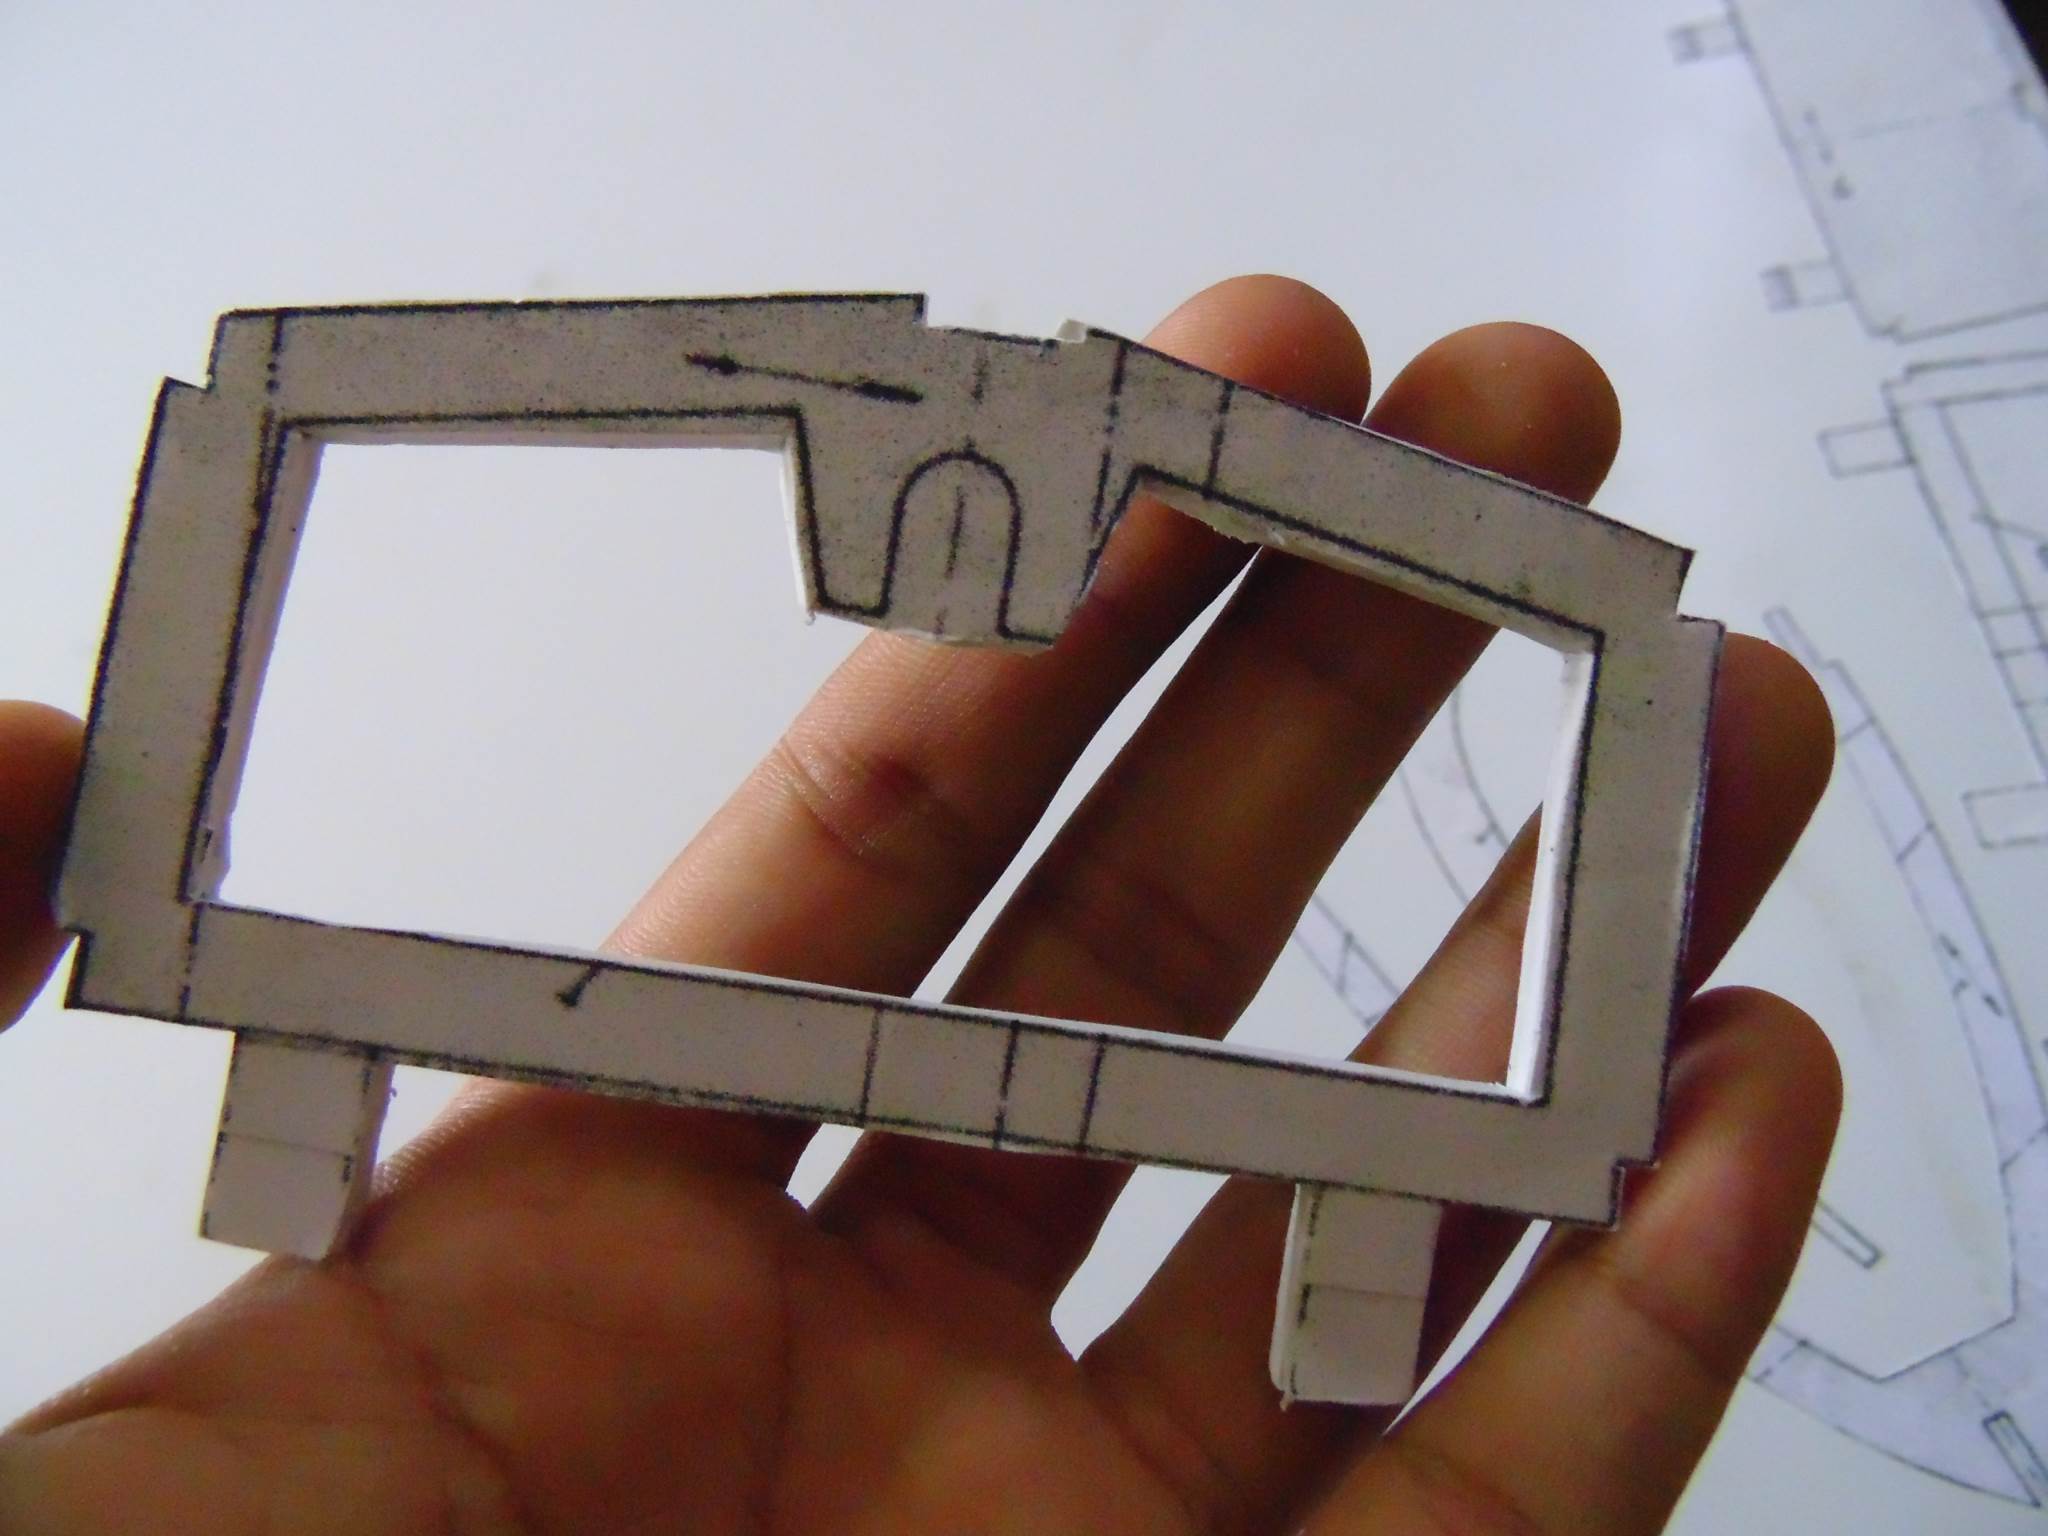
- Cut out the print into Templates
You have to print the Page 2 of the Plan for three times as Some parts of the hull are drawn overlapped.

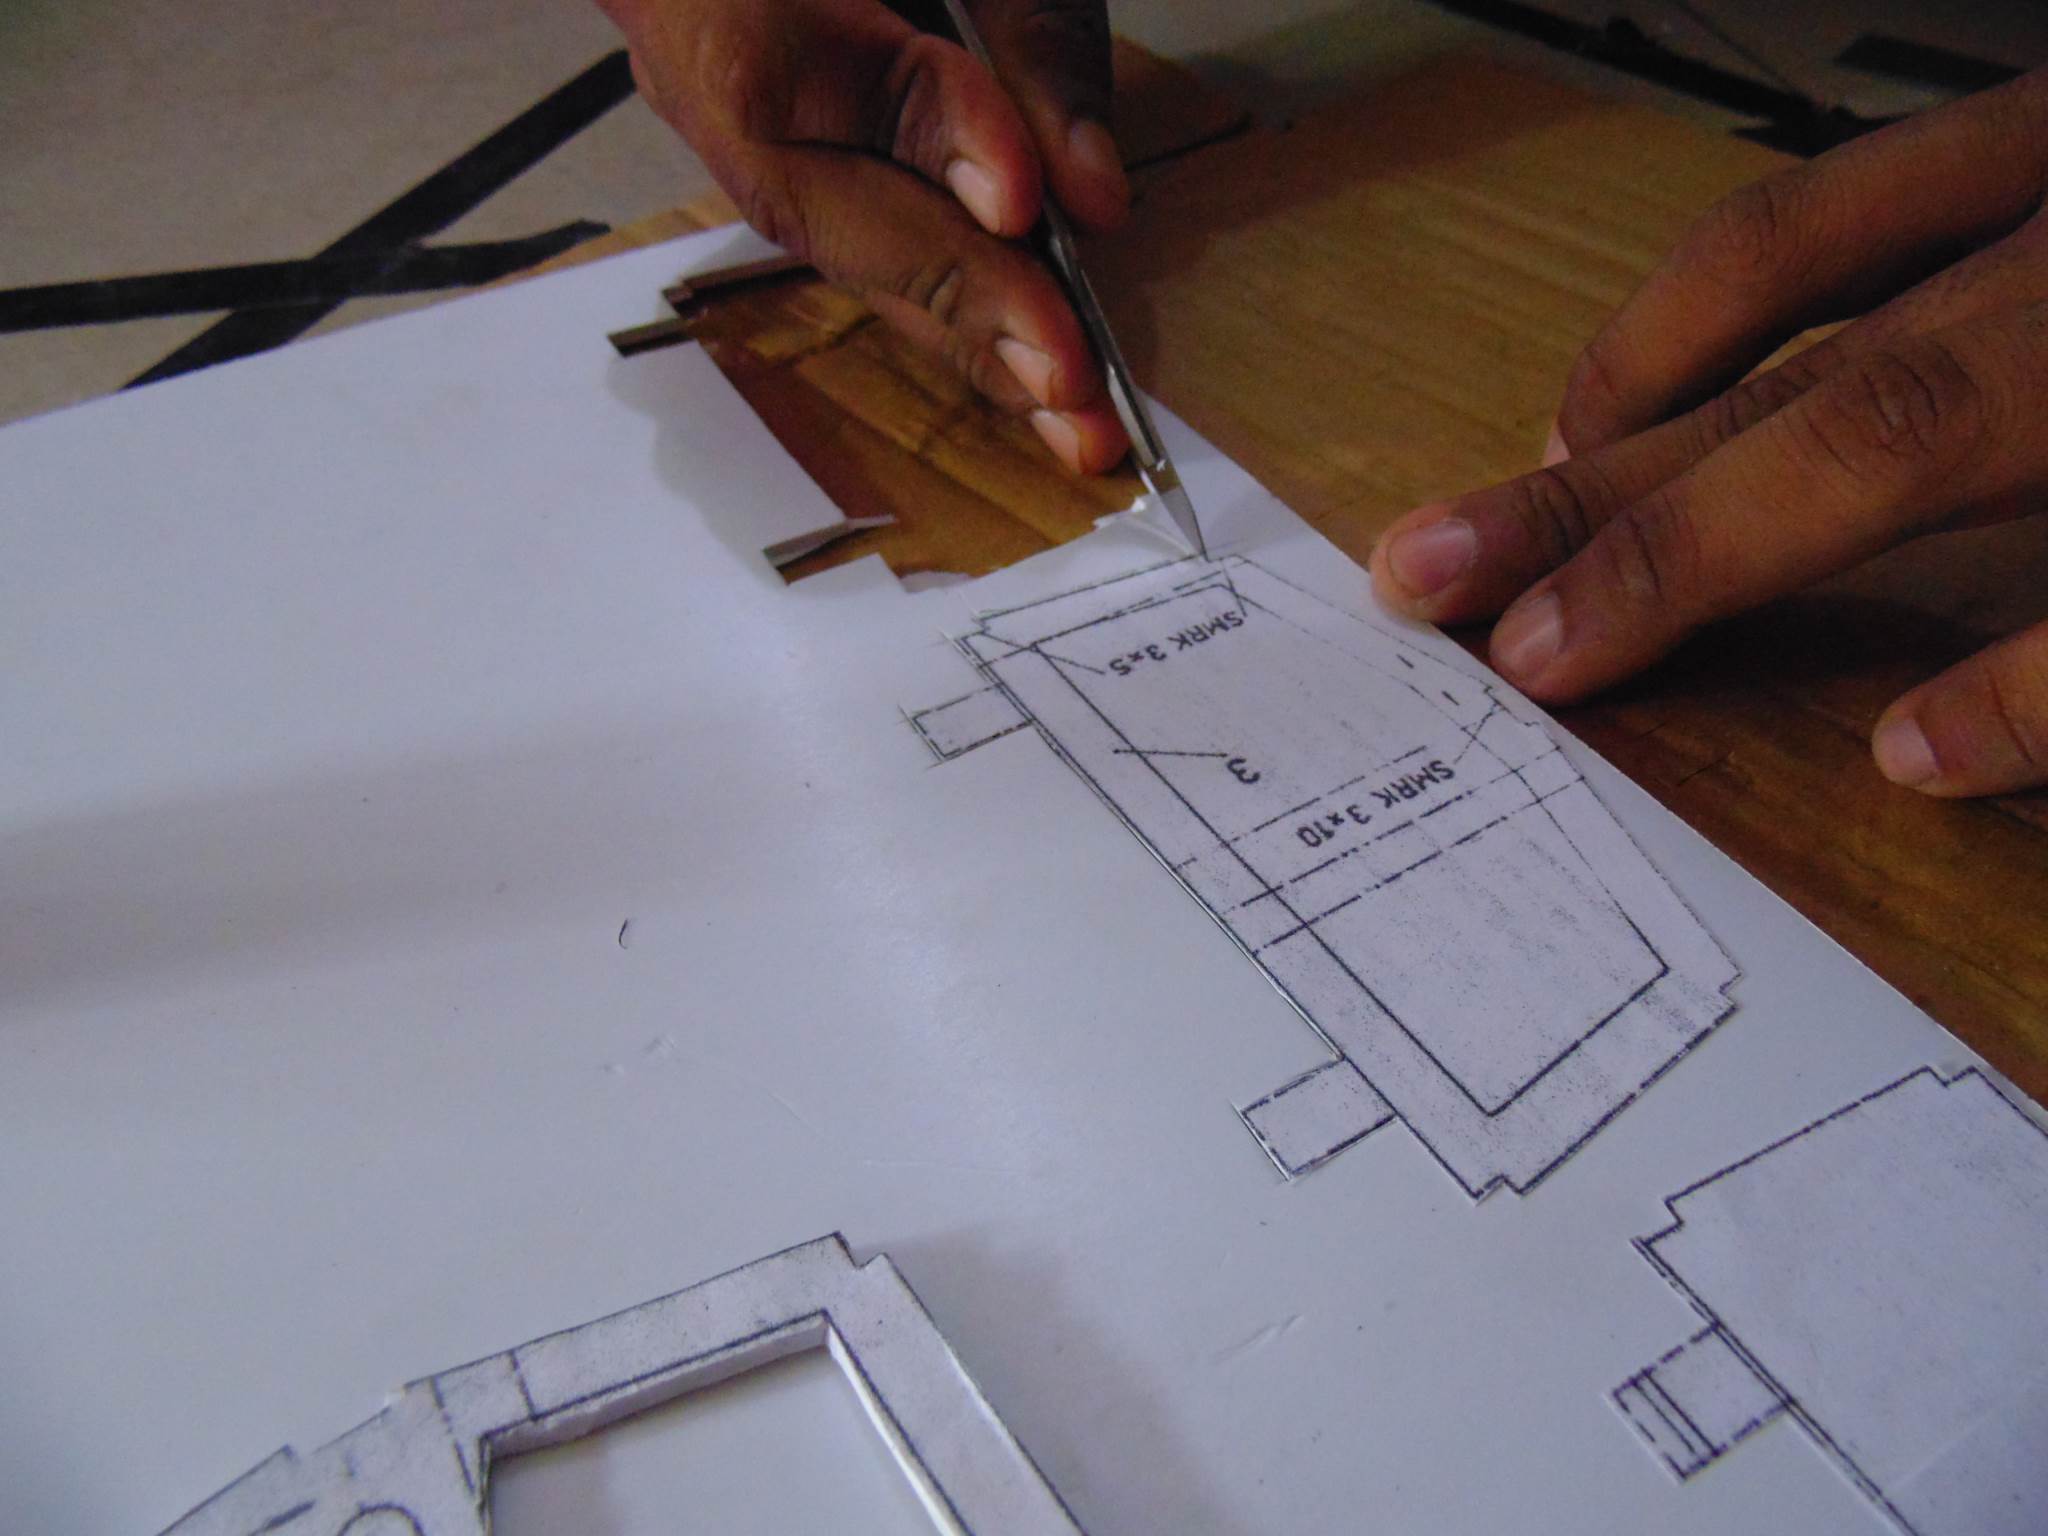
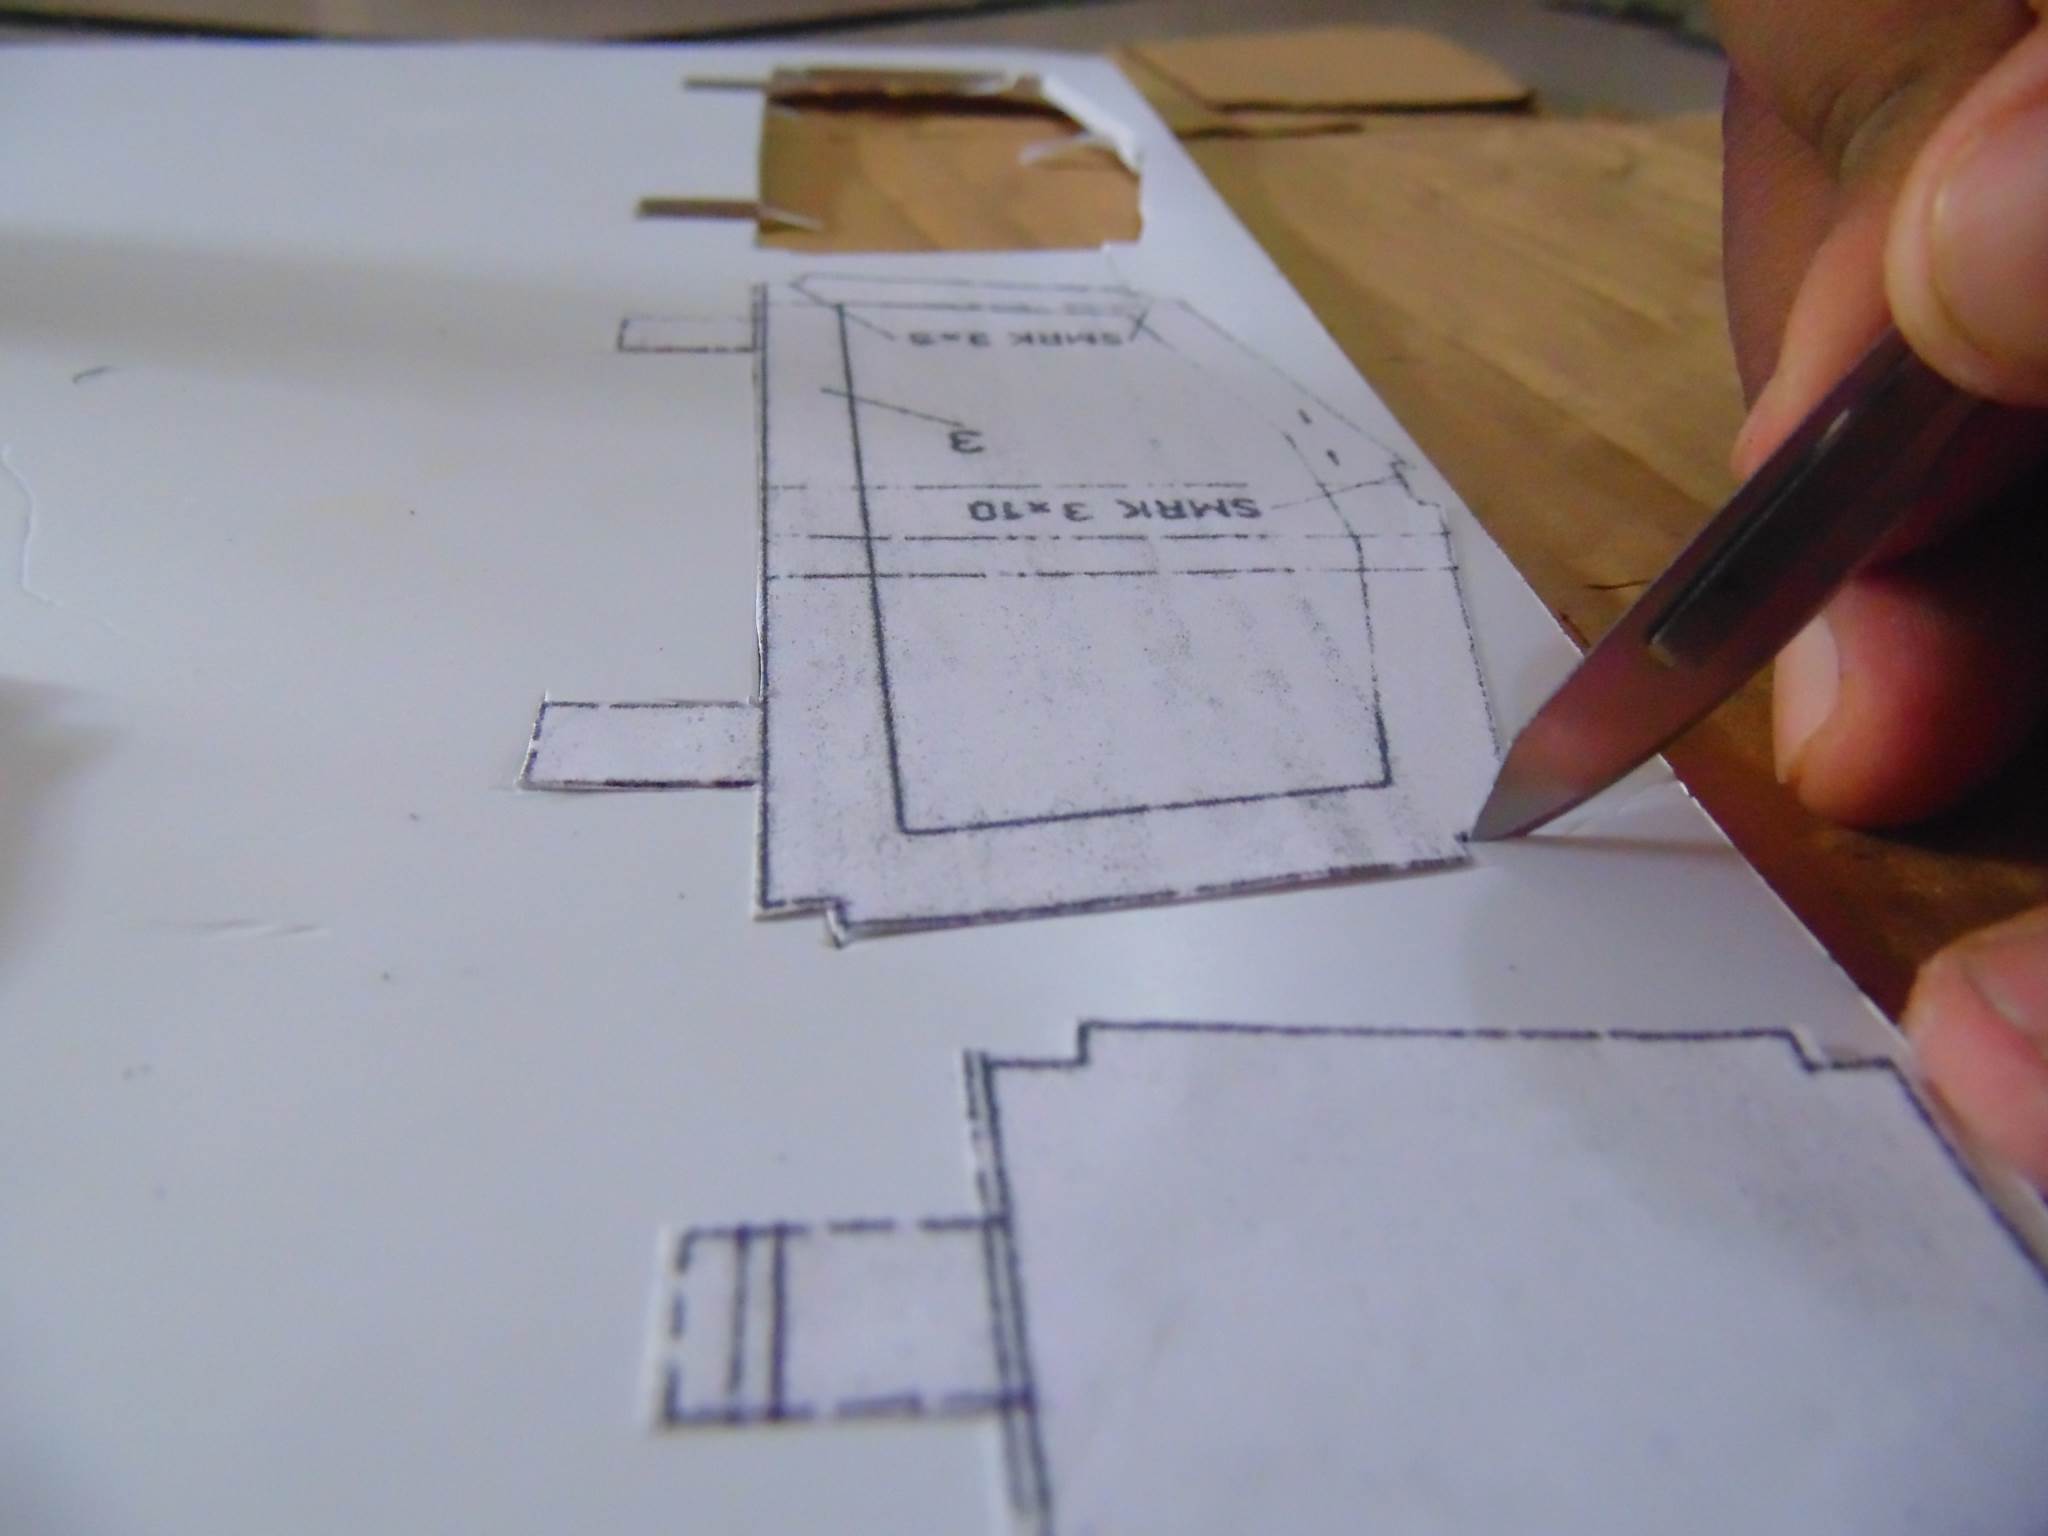
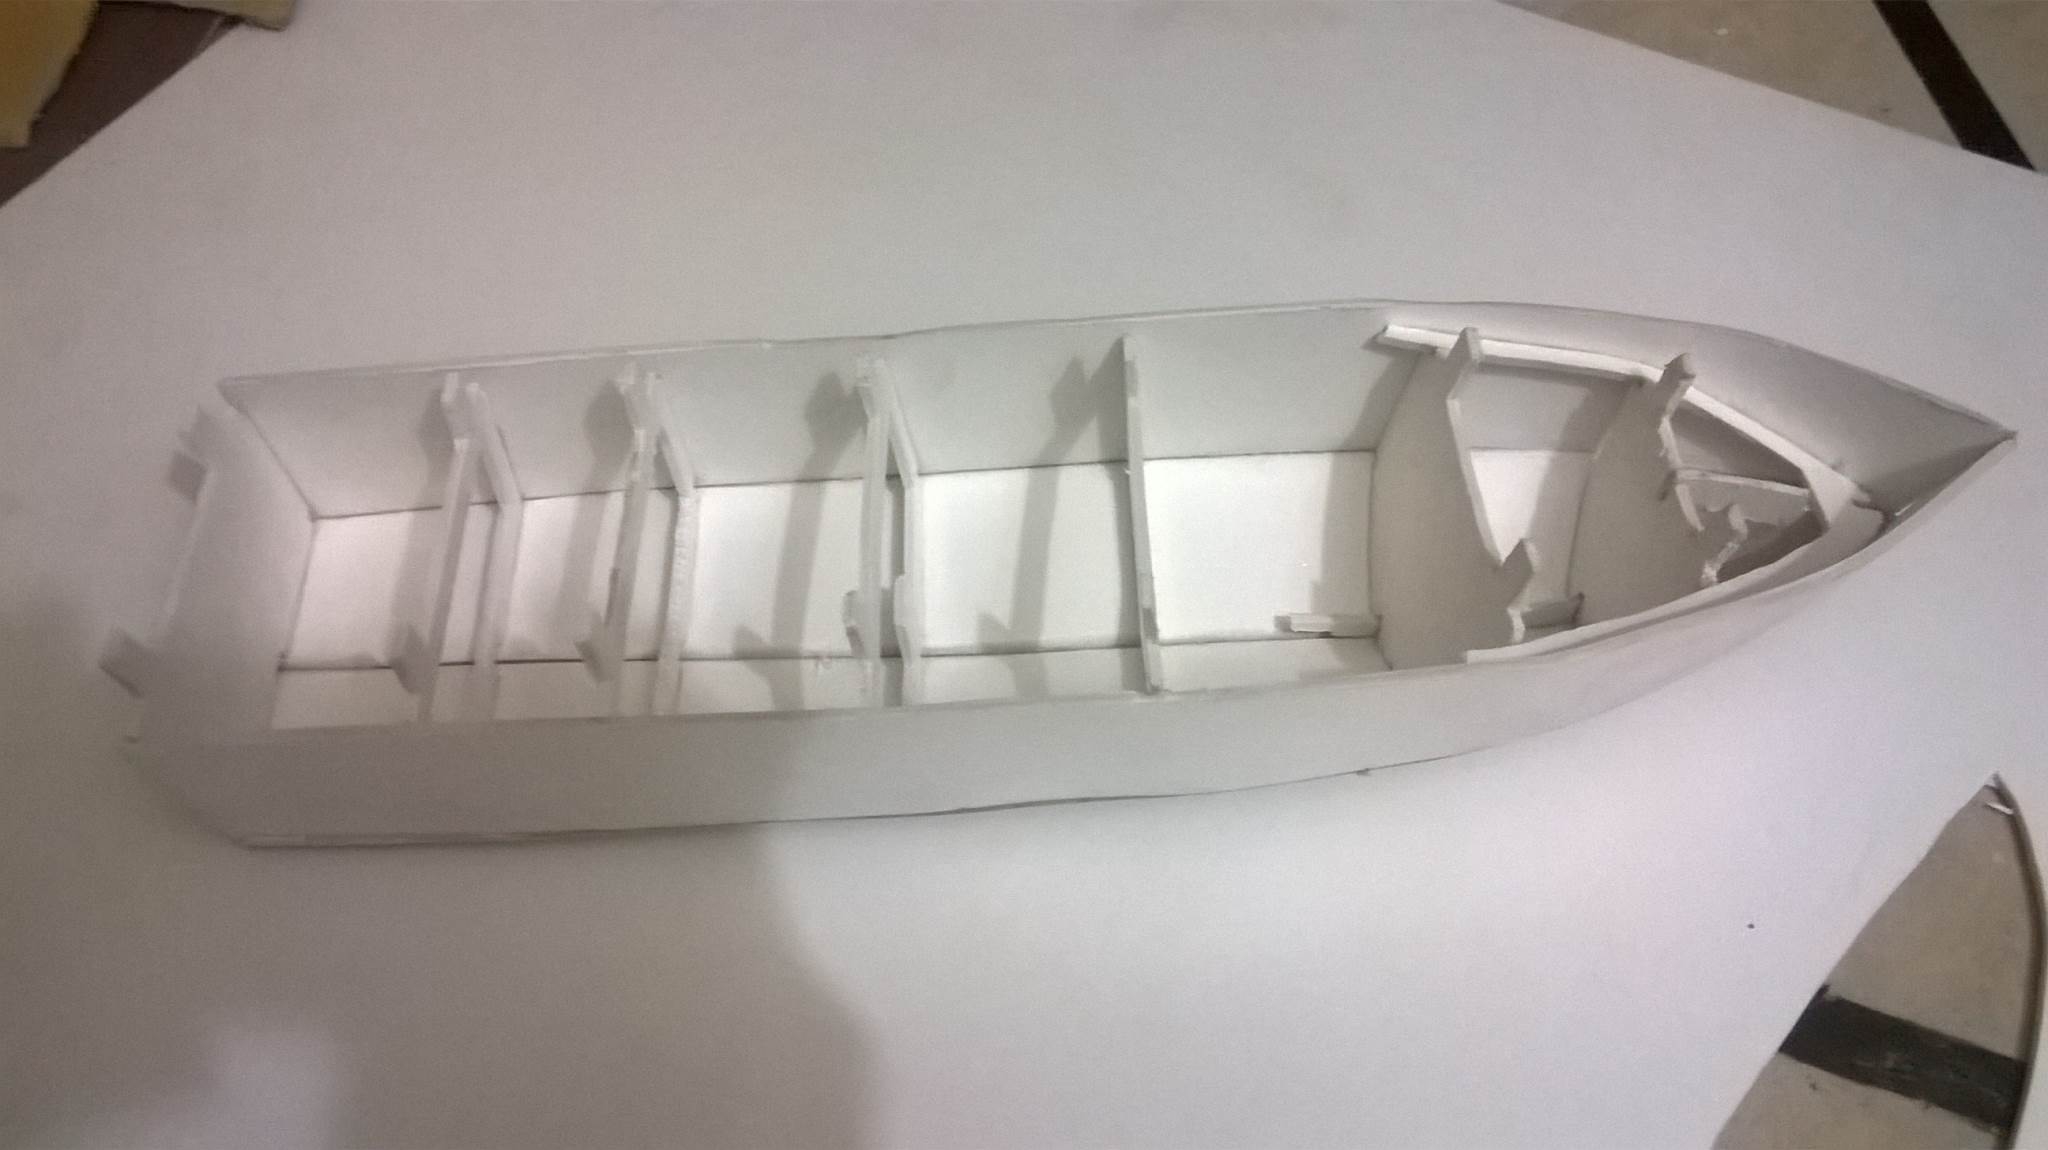
- Stick the Templates on the Sun Board / PVC Board

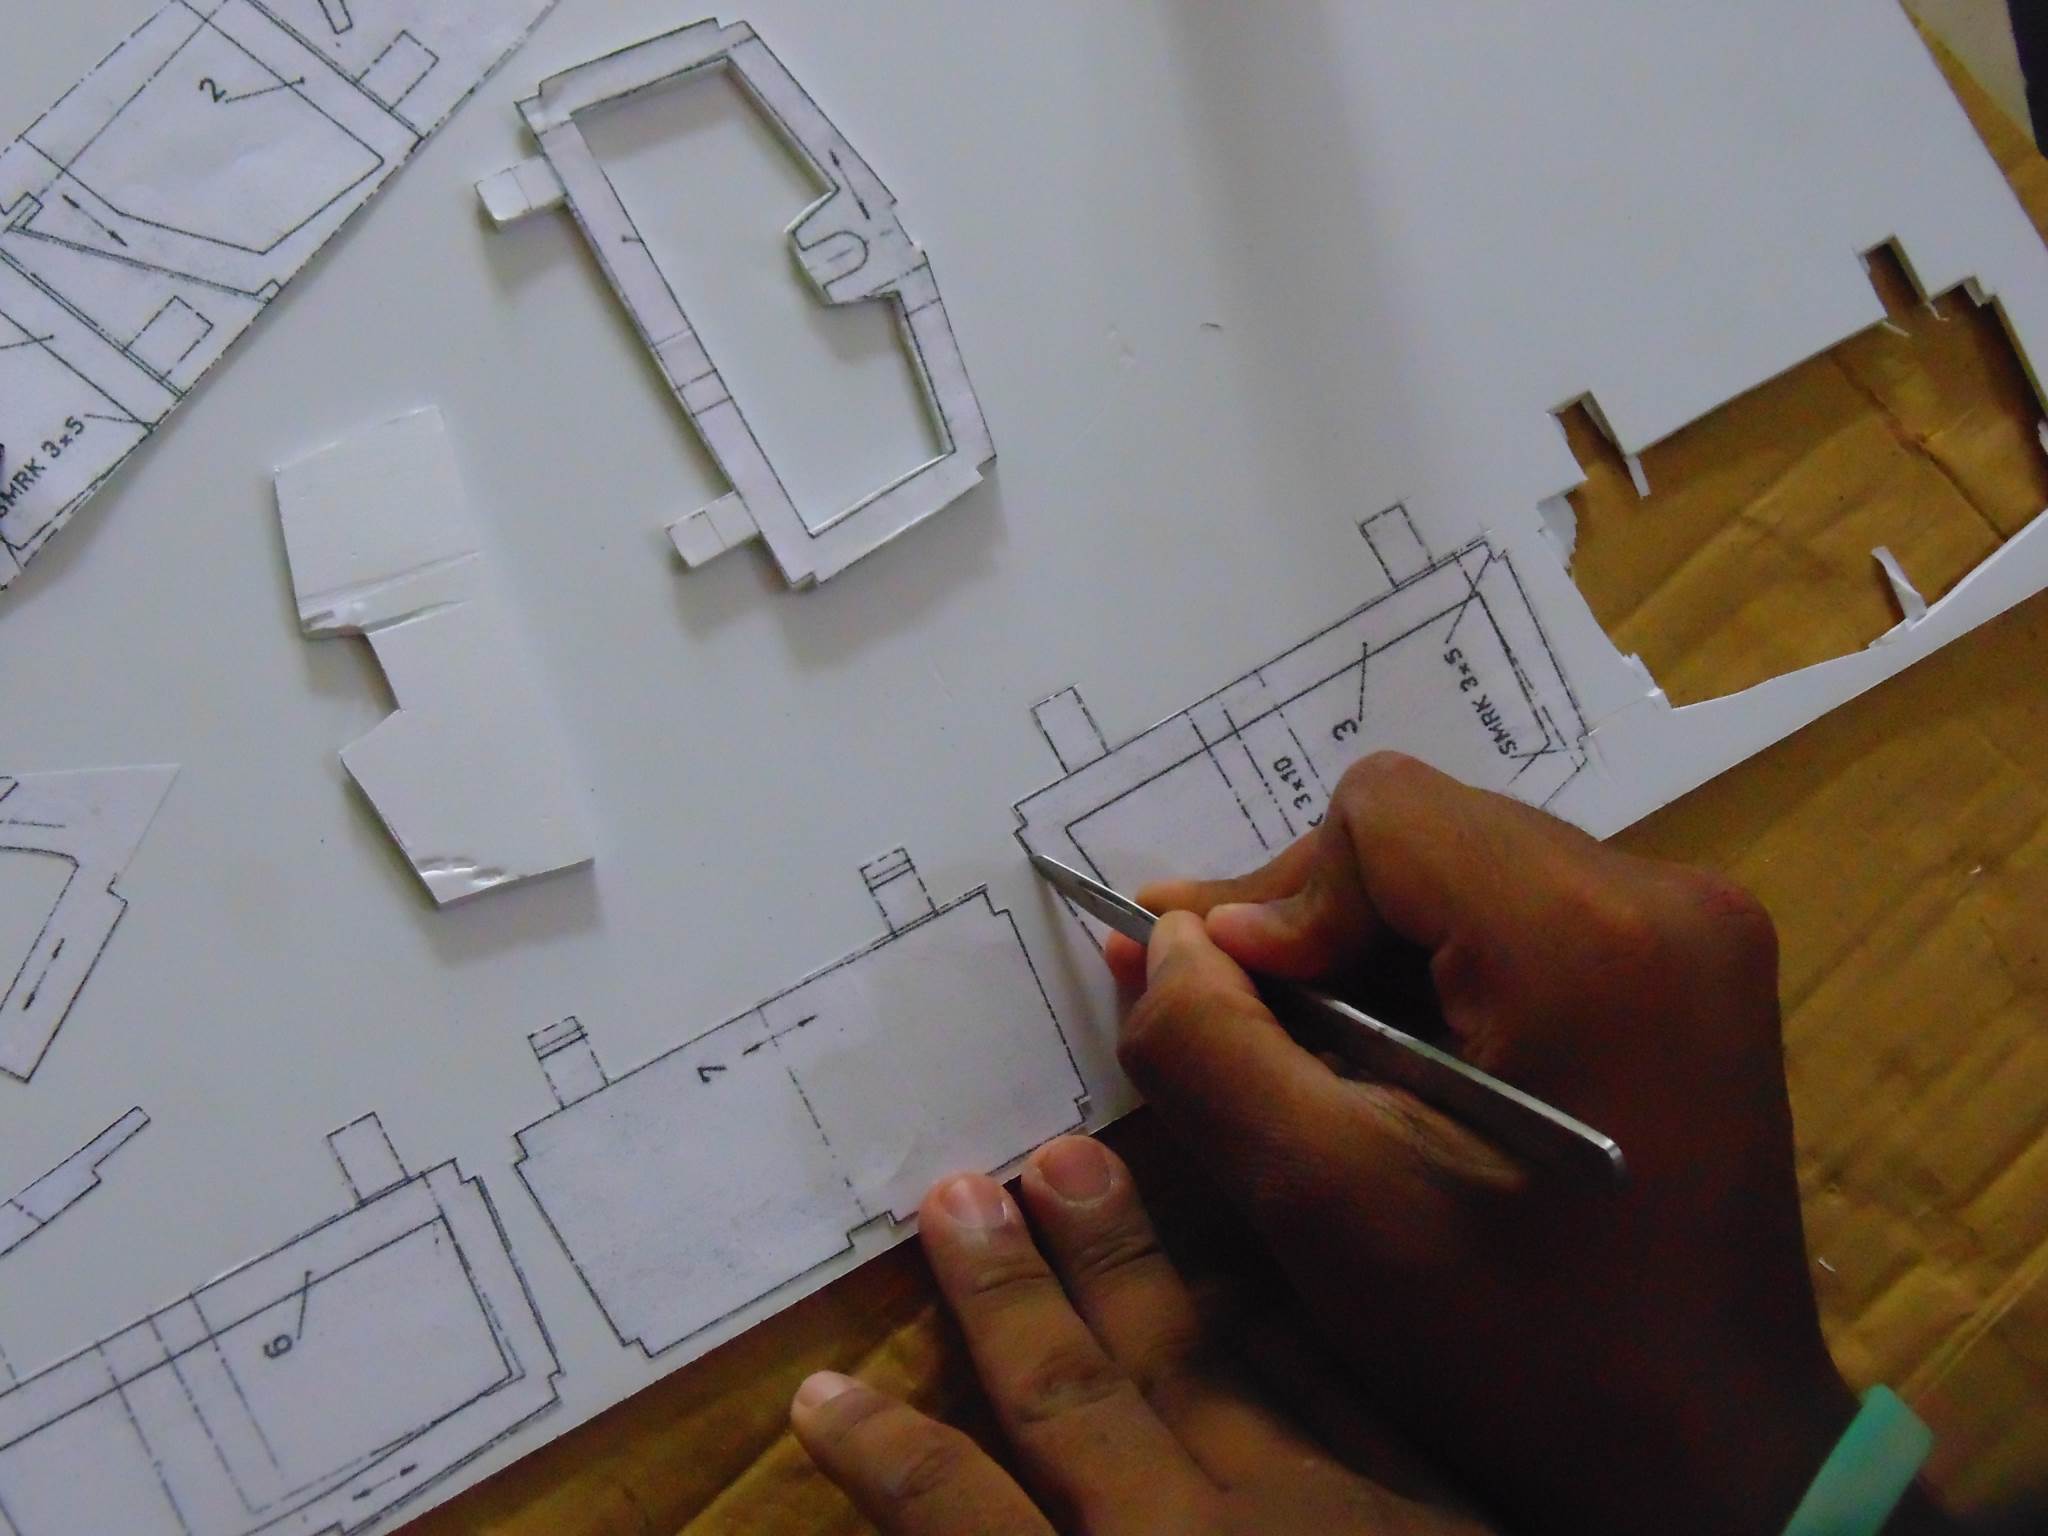
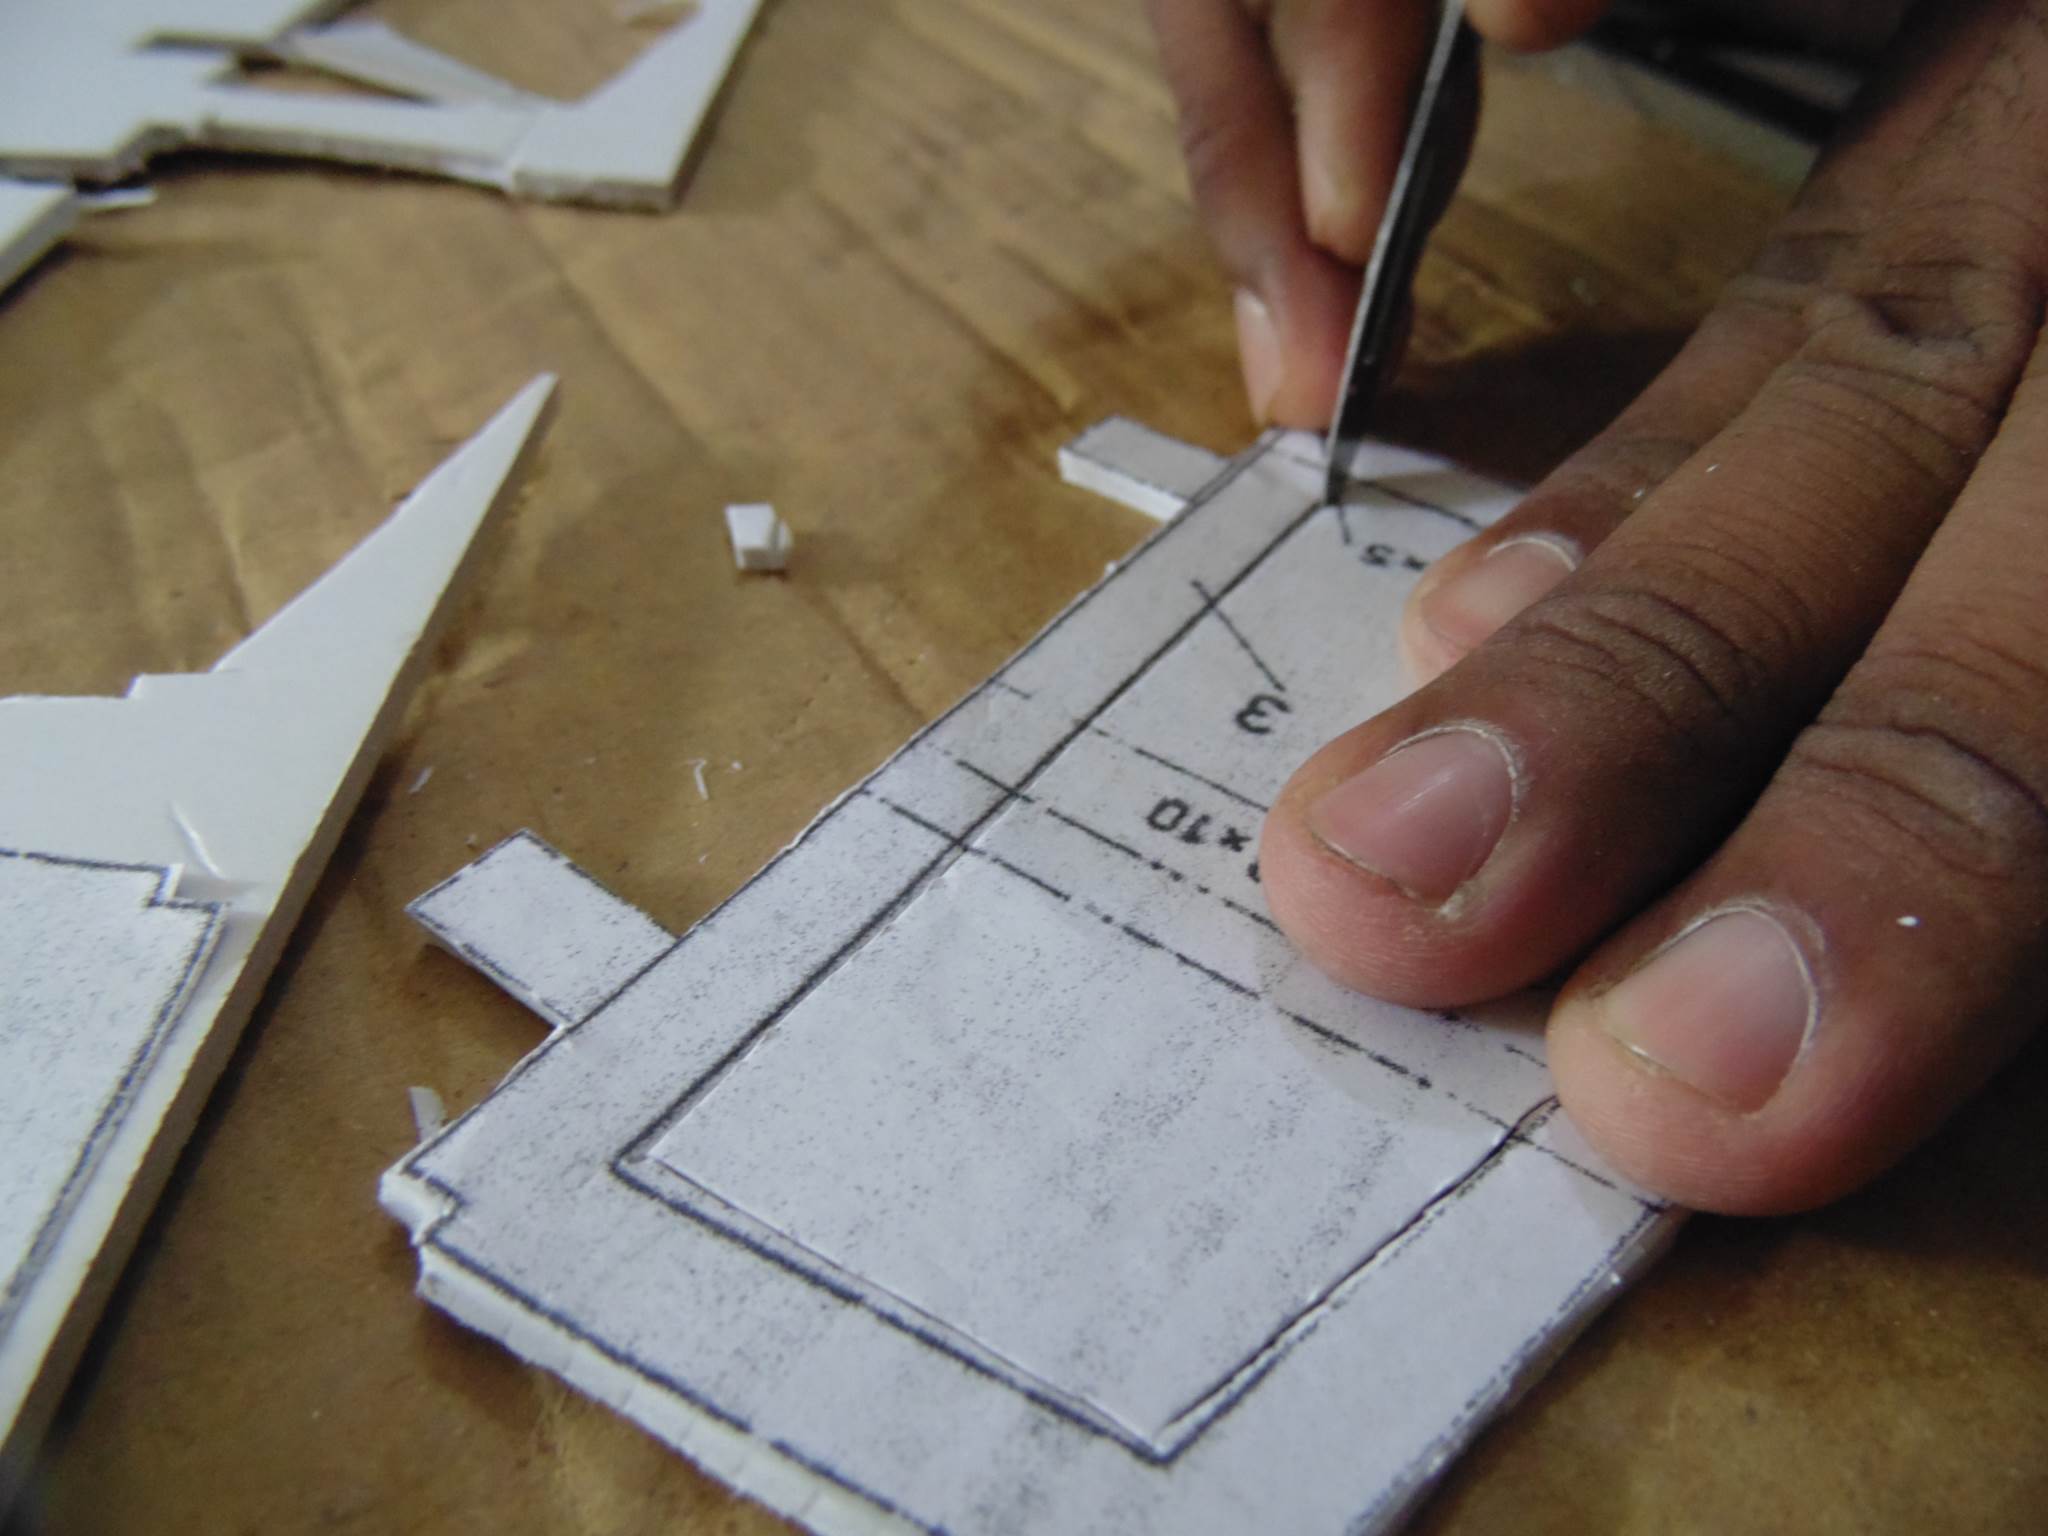
- Use a X-Acto Knife to Cut the PVC Board
Be careful because you can hurt yourself. Follow the boundaries carefully. If you do any mistake it is advaicable to take another print out and recut the same part.
- Cut Slowly and Carefully
- You can also use Surgery Blade
- The Board might be hard to cut in one pass so you can always cut it in multiple
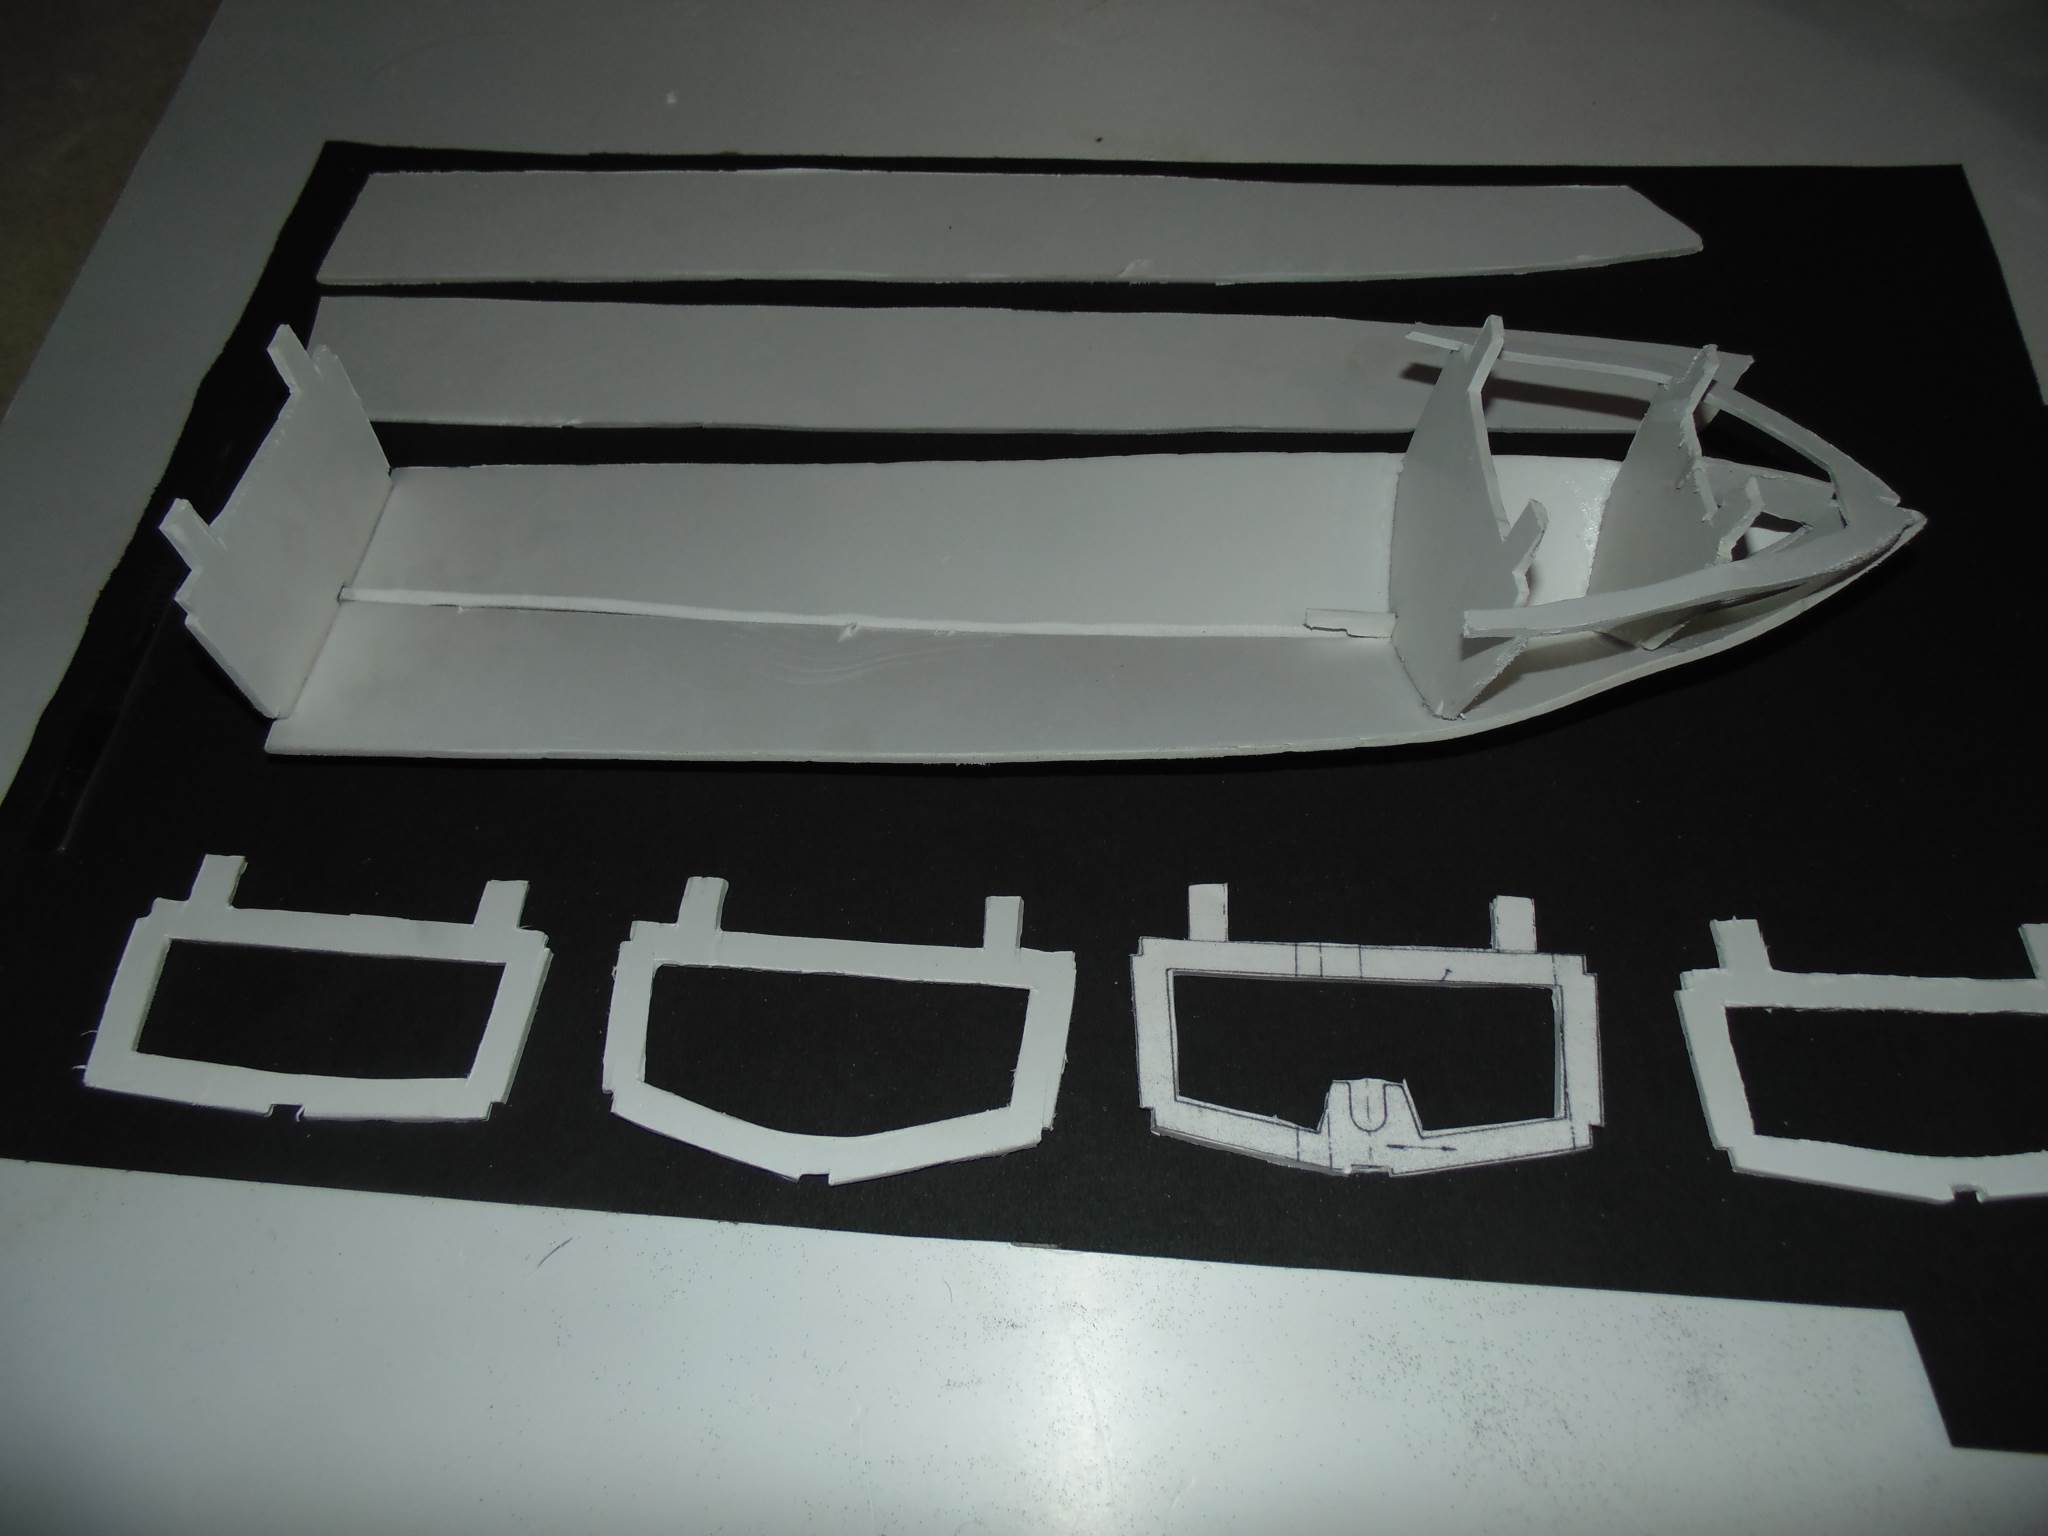
pass es - A Hull Support Piece
- Joining the Cut Outs
You can use any Instant Glue or Super Glue to join the parts. Be careful not to drop any glue on you body.
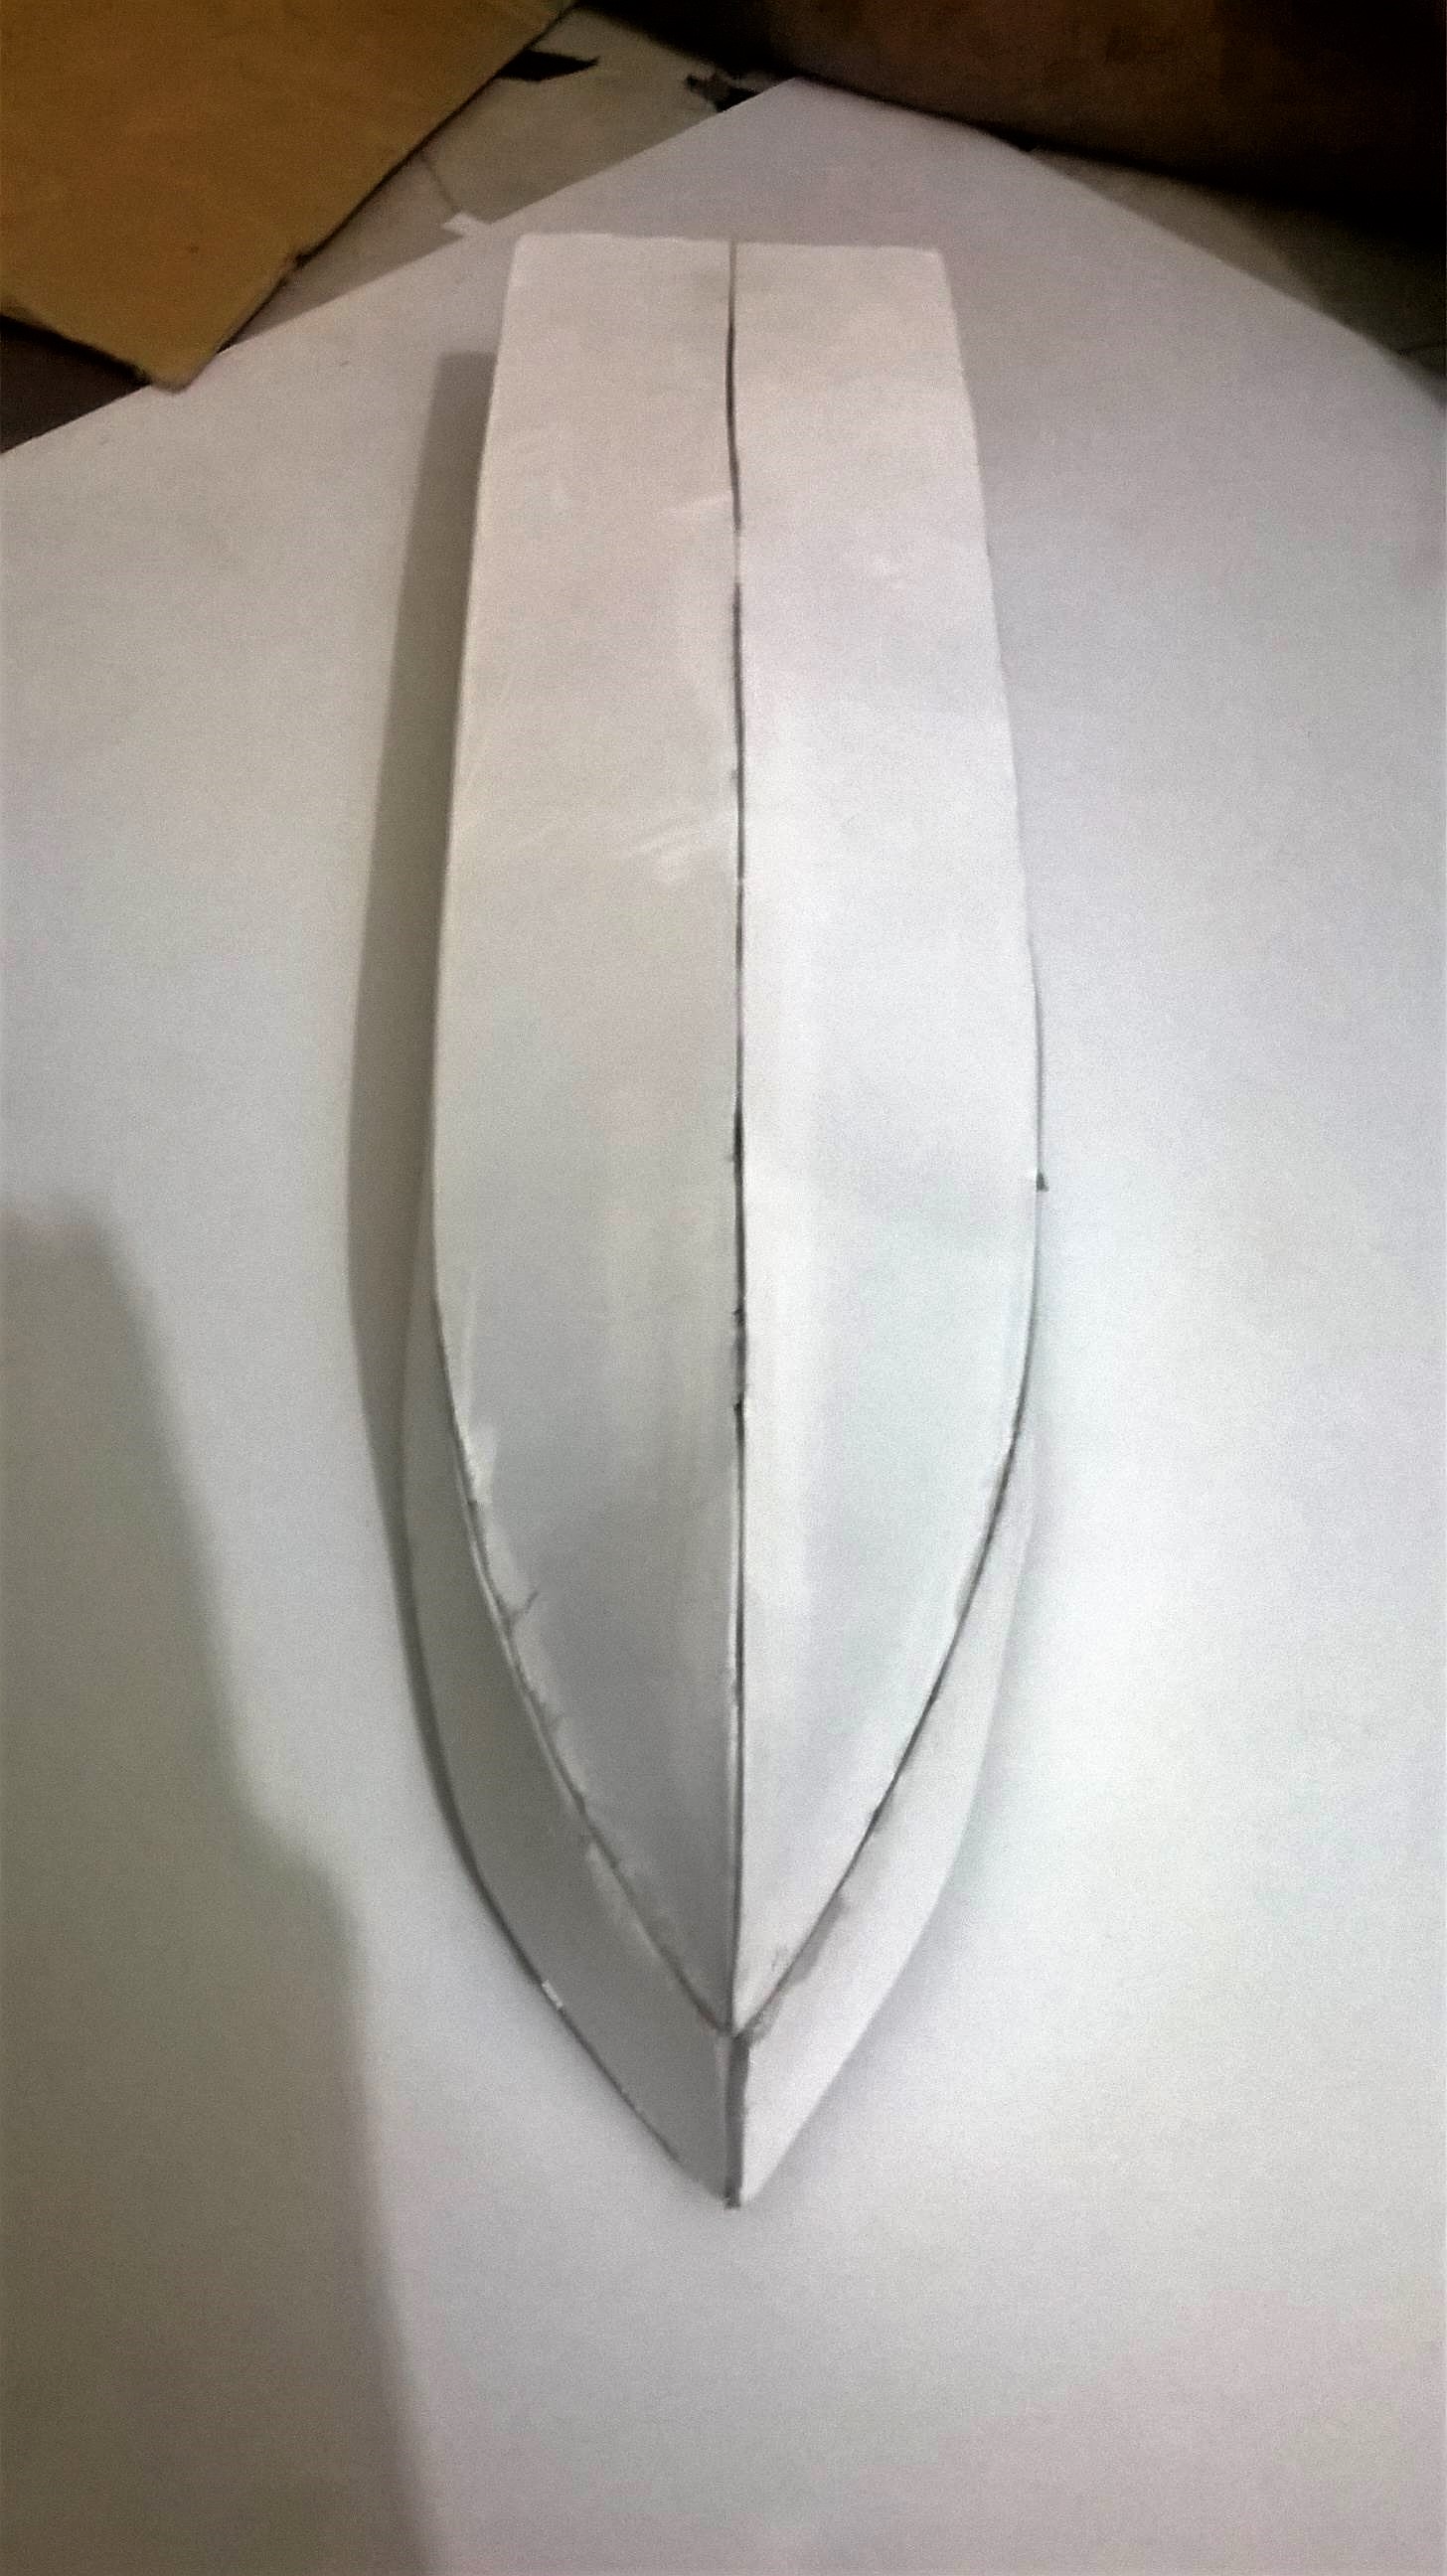
- Joining the Parts

- Another View

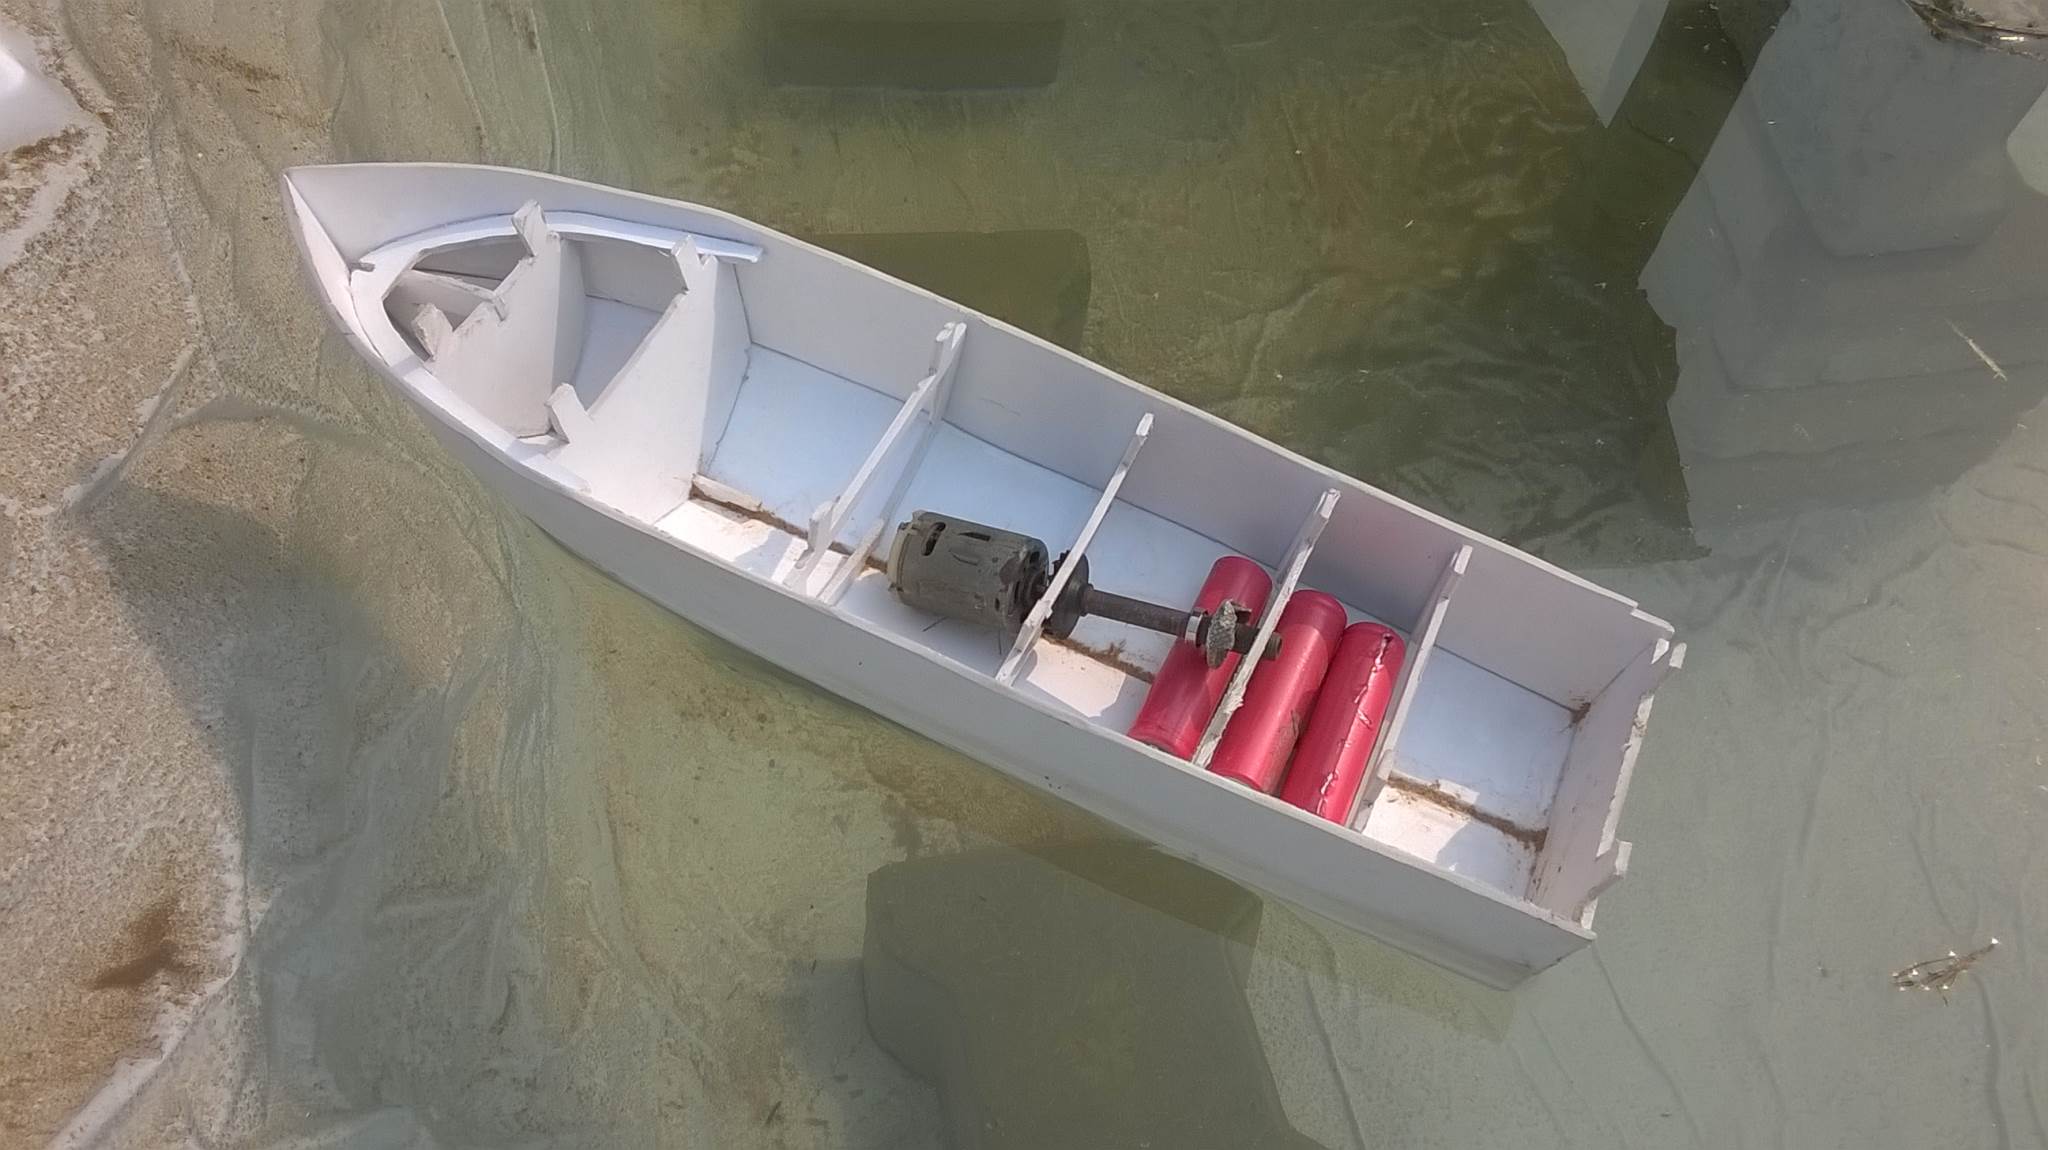
- Testing the Boat for leakage
Before proceeding with any electronics it is recommended to test the boat for any leakage. I added the Batteries and the Motor also to understand the balance.
- Motor Mounting
I mounted the motor in a angle such that when the motor shaft came out below the hull it left enough space for the propeller. I mounted the motor on cylindrical rubber pieces so that vibration from motor is damped. You have to use a RC Boat Drive Shaft assembly or you can make one as I did using Plastic Pipe and metal shaft.
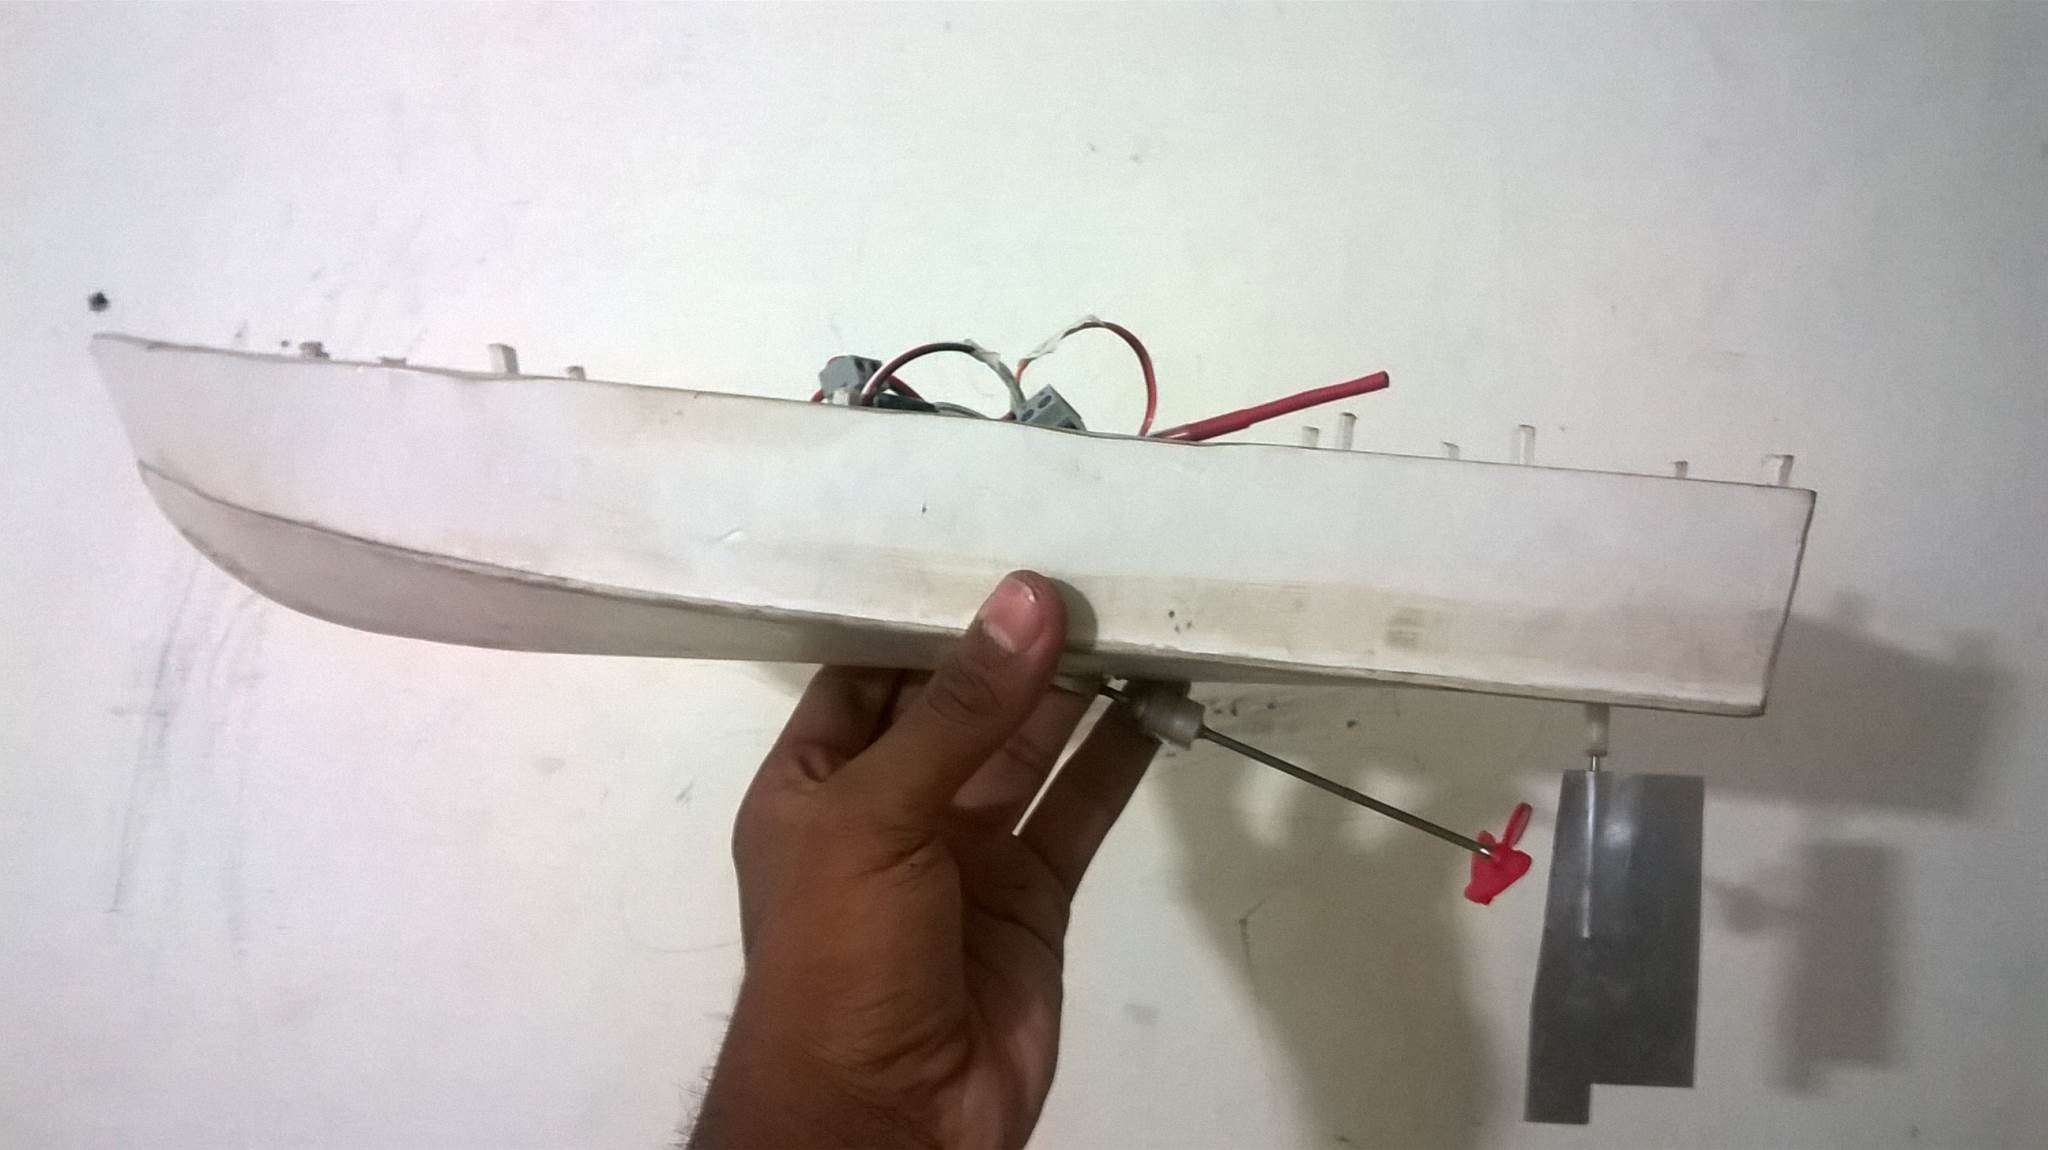
- Rudder
Furthermore, I also made my Rudder using
Aluminium Sheet. It was actuated using a 9G Servo Motor. - Electronics
As I mentioned before I used a DC Motor ESC and a Servo Motor to switch the DPDT switch. The Servo Horn was connected to the rocker of the switch. The servo was controlled by a toggle switch on the remote which in turn toggled the DPDT Switch

- Electronics and Top View
Testing On Track | PT- Boat K203 | 2.4Ghz FlySky | Li-Ion 3S | www.ArnabKumarDas.com
Remote Control RC Boat (PT Boat) Testing In Narrow Path
Happy Making
Liking this content ? Please Donate to support this website ! 😇

4 Comments
Georg Jone · April 3, 2021 at 1:46 am
Excellent post but I was wanting to know if you could write a litte more on this subject?
I’d be very thankful if you could elaborate a little bit more.
Many thanks!
Crazy Engineer · April 14, 2021 at 3:48 pm
Thank You for your suggestion, I will be updating.
Alexandre Ky · August 17, 2021 at 6:14 pm
Hi, may I know how did you prevent water from invading your boat ? because when you add the motor shaft, you have to pierce your hull…
Crazy Engineer · August 20, 2021 at 10:22 am
Hi Alexandre,
The Shaft for the Propeller goes through a tube that is just a little bigger in diameter than the shaft. This ensures there is very little gap between them. The Gap is so little that only a lubricant can be present between them. I have used automotive grease as a lubricant while putting the shaft through this pipe/tube The Lubricant prevents any water flow. While assembling, the tube is sealed with the hull and made water proof.
Arnab Kumar Das