Note
This article is a part of Arduino / ATmega328p Embedded C Firmware Programming Tutorial. Consider exploring the course home page for articles on similar topics.

Arduino Tutorial Embedded C Register Level Arduino Master Class
Also visit the Release Page for Register Level Embedded C Hardware Abstraction Library and Code for AVR.
Introduction

Download the Arduino Software (IDE)
https://www.arduino.cc/en/main/software
You can directly download the Arduino 1.8.7 from the above link or visit Arduino’s Download Page to choose between the Installer (.exe) and the Zip packages.
It is recommended to install using the above Executable Installer as it will install the required drivers and you don’t have to install it manually.
What You Will Learn
- How to Install Arduino IDE in Windows OS?
- How to Install COM Port Drivers of Arduino in Windows OS?
- How the flash Arduino code from Arduino IDE?
Installation Steps
Time needed: 5 minutes
Installation Steps for Arduino IDE and Drivers
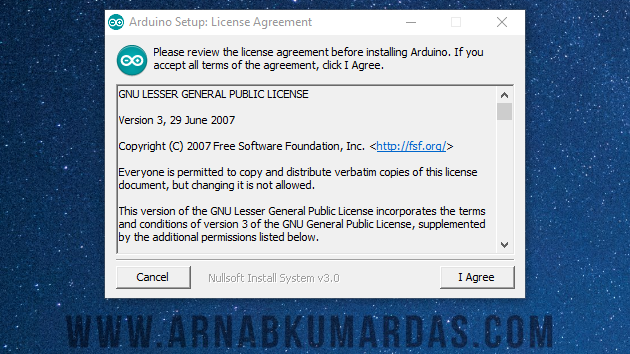
- License Agreement
Please accept the License Agreement to proceed with the installation process of Arduino IDE and Drivers.

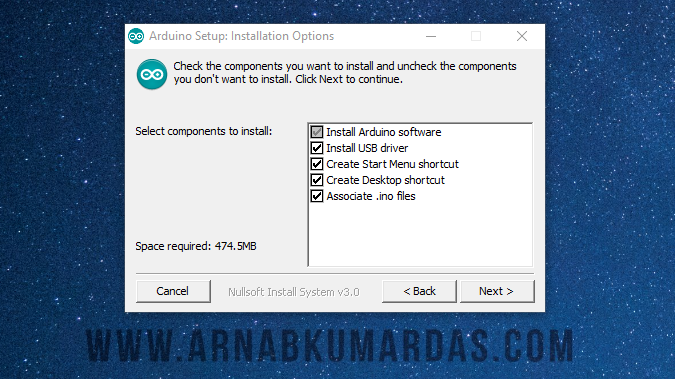
- Installation Options
Choose the options you required. If you are installing for the first time it is recommended to select the Driver option also.

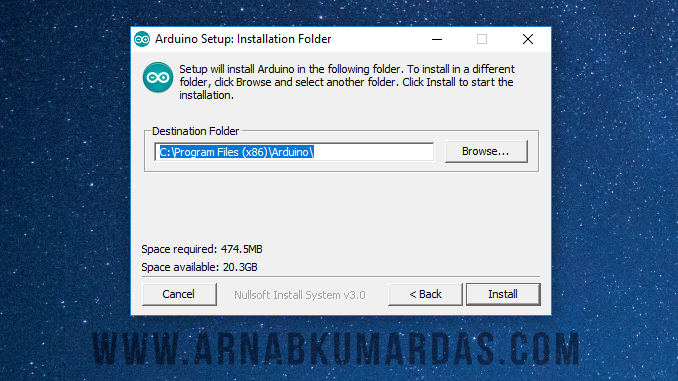
- Installation Folder
Select the preferred installation directory.

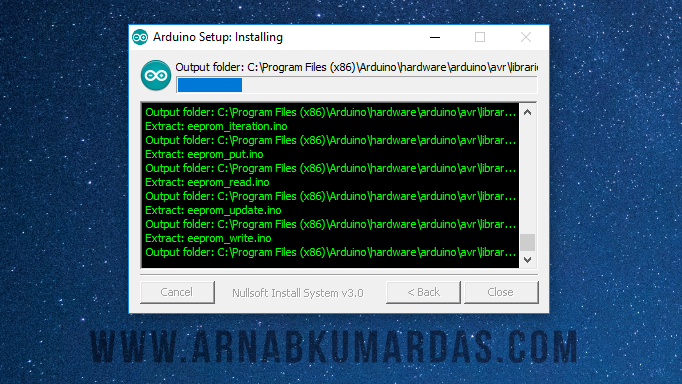
- Installation Progress
It will take few seconds to minutes for the installation.

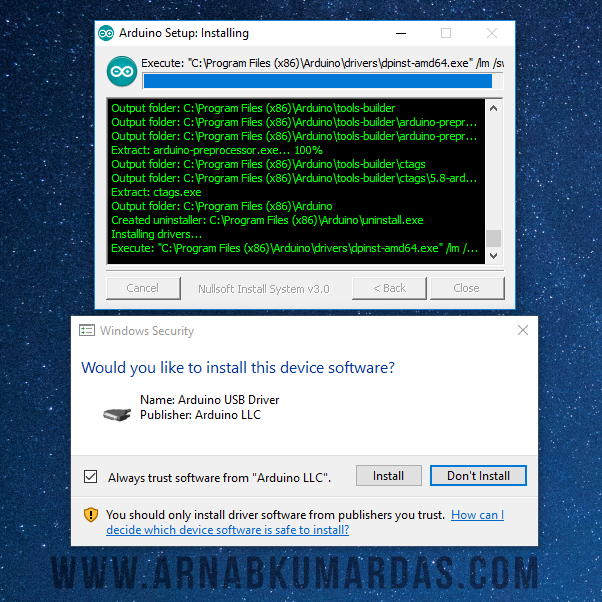
- Arduino Driver Installation
Trust and install the Arduino Drivers.

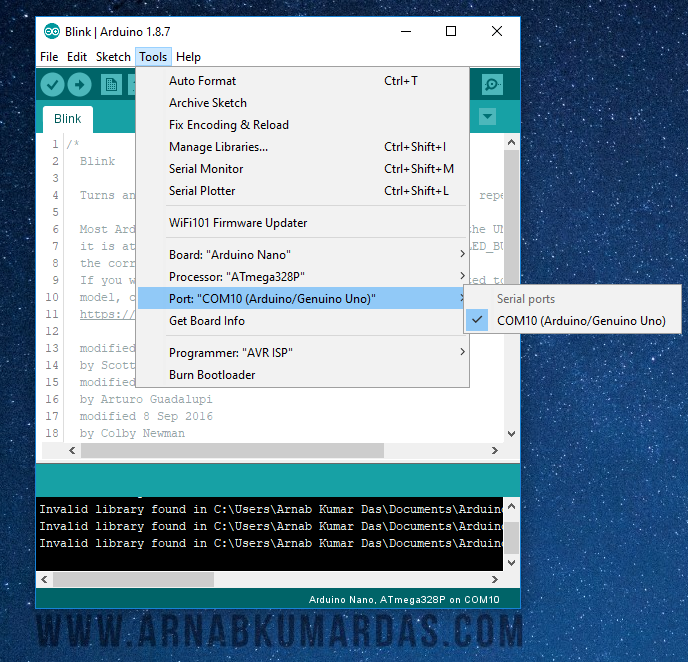
- Testing Arduino and COM Port Selection
Connect the Arduino Board and open the Arduino Application. Go to Tools->Port and then select the COM Port which represents your Arduino Board. If you are using a clone board then you may not see the “Arduino” after it.

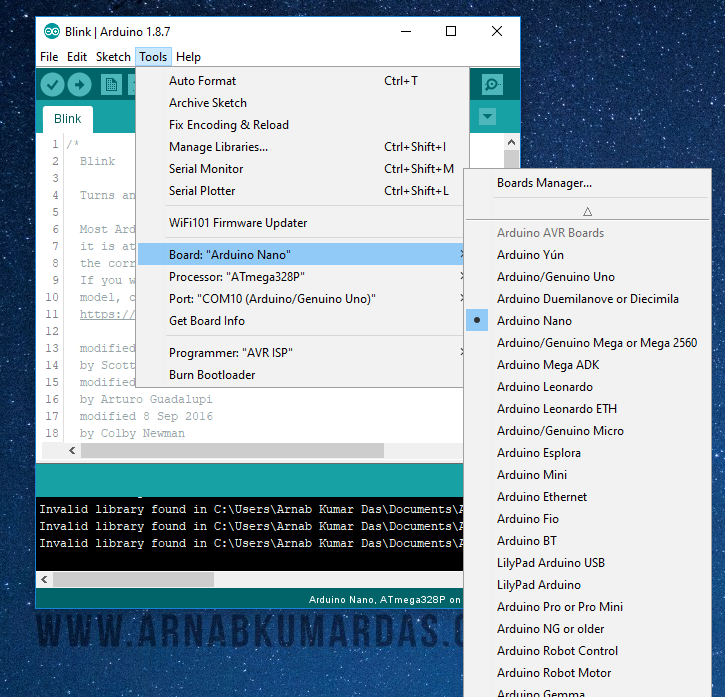
- Arduino Board Selection
Select the Arduino Board that you are using. Select this carefully as wrong selection will lead to failed upload of program.

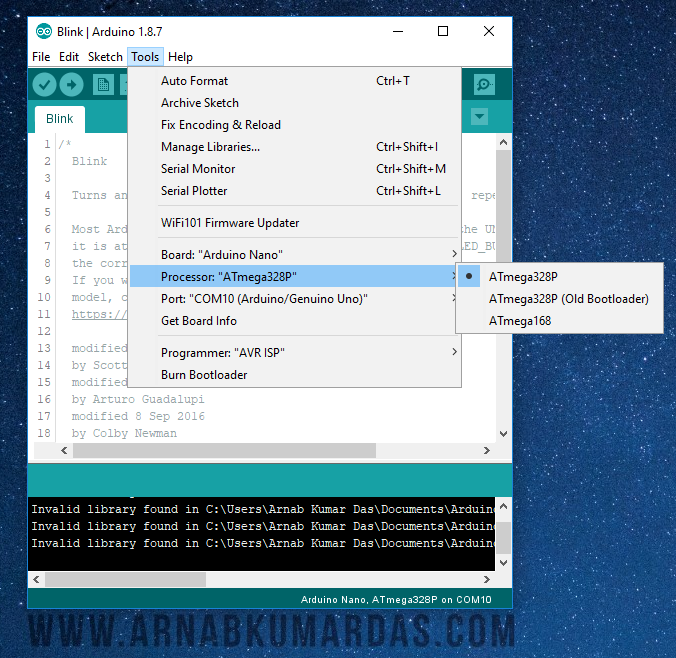
- Processor / Microcontroller Selection
Select the proper Microcontroller you have on your Arduino Board and select the correct one as the
wrong choice will give a programming error.
- Test the Arduino Board using Blink Application
Go to File -> Examples -> 01.Basics -> Blink and open the Blink Program of Arduino that will blink a Board orange LED every 1 Second. This will verify your Toolchain and Hardware Setup.

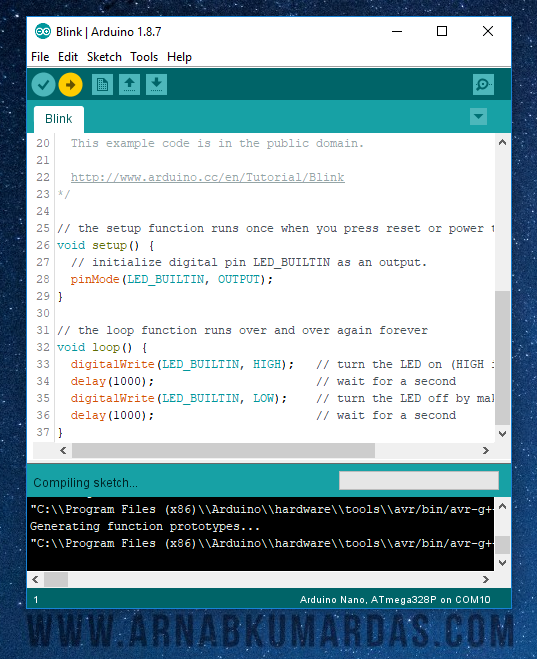
- Build your Arduino Program
Select the “Upload” / “->” Arrow Button. The Sketch should Compile.

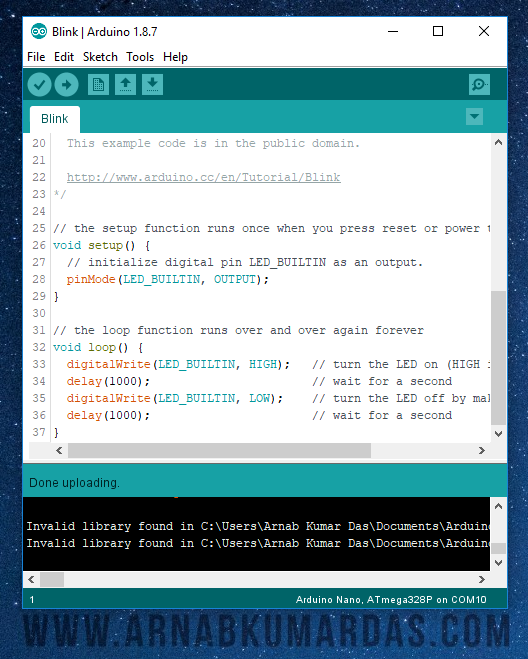
- LED Blink Program Upload
After the program is flashed and you get “Done uploading” the On-Board LED should flash every 1 Second. This Confirms everything is working as expected.


0 Comments